
How Influencers Can Launch Their Own Merch Store Using Gogopogo!
This blog guides influencers and content creators through the complete process of launching their own merchandise store using Gogopogo. From selecting products and adding designs to setting pricing, publishing, and promoting the store, the article explains each step in a simple, practical way. It is designed to help creators turn their audience into a brand and start earning through merch without managing inventory or logistics.
From Content Creator to Store Owner: Launching Your Merch Store on Gogopogo!
Influencers today are turning their audience into a brand by launching their own merchandise. A merch store helps creators earn additional income while strengthening their connection with followers. Platforms like Gogopogo simplify the process by handling production, packaging, and shipping, allowing creators to focus mainly on content and promotion.
This guide explains the exact step-by-step process to launch a merch store using Gogopogo.
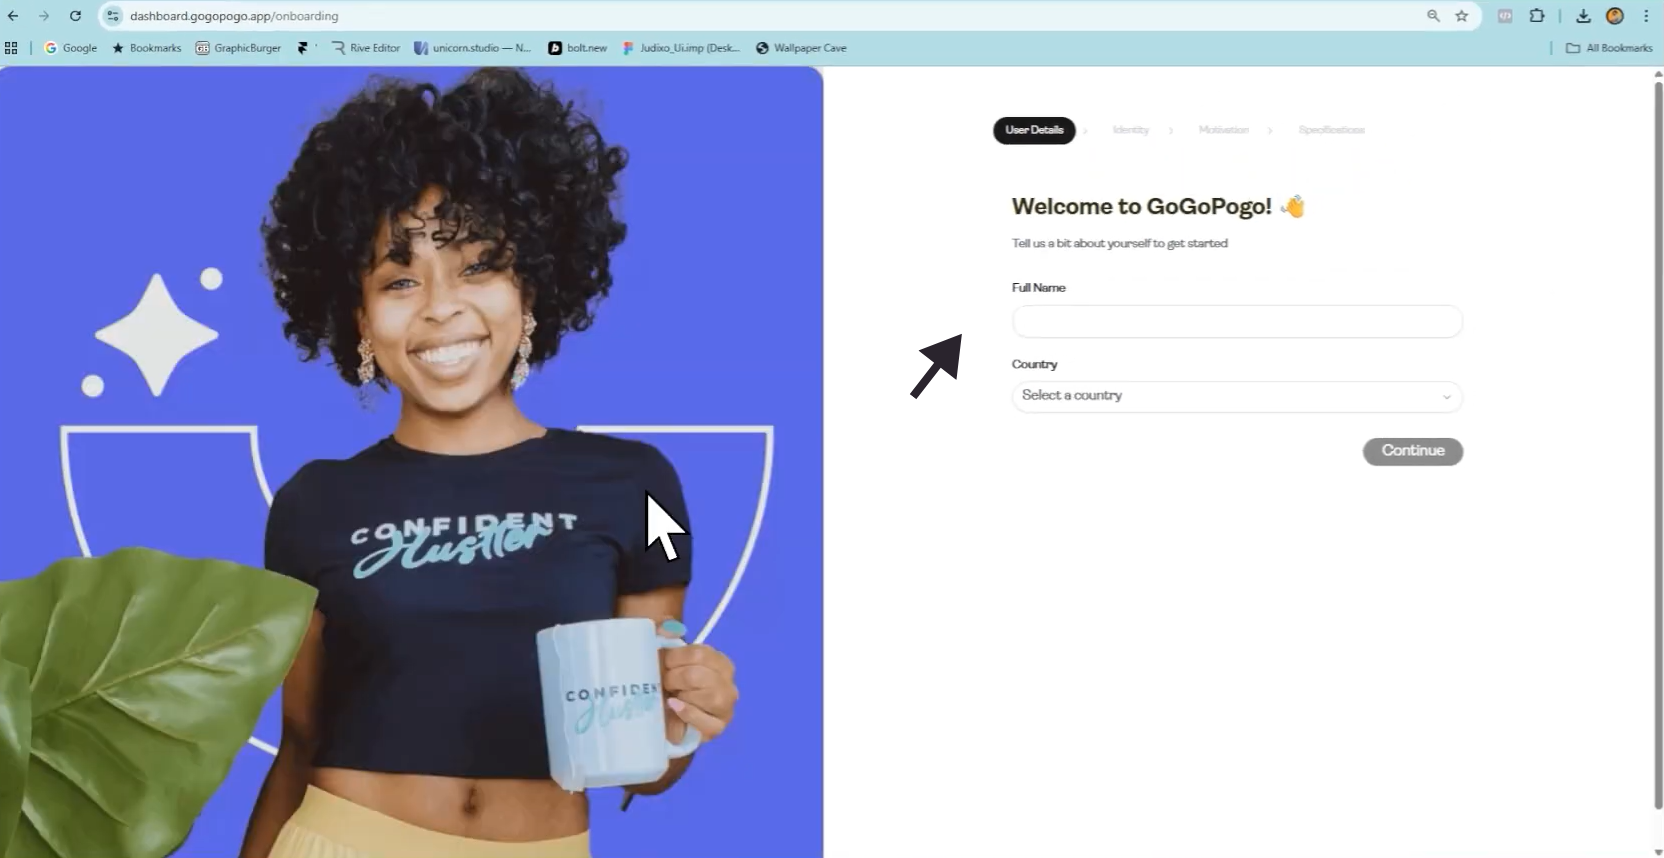
Step 1: Sign Up and Create Your Store
Start by creating an account on the Gogopogo website.
After logging in:
Enter your store name
Complete your creator profile
Set basic store details
Step 2: Choose the Products You Want to Sell
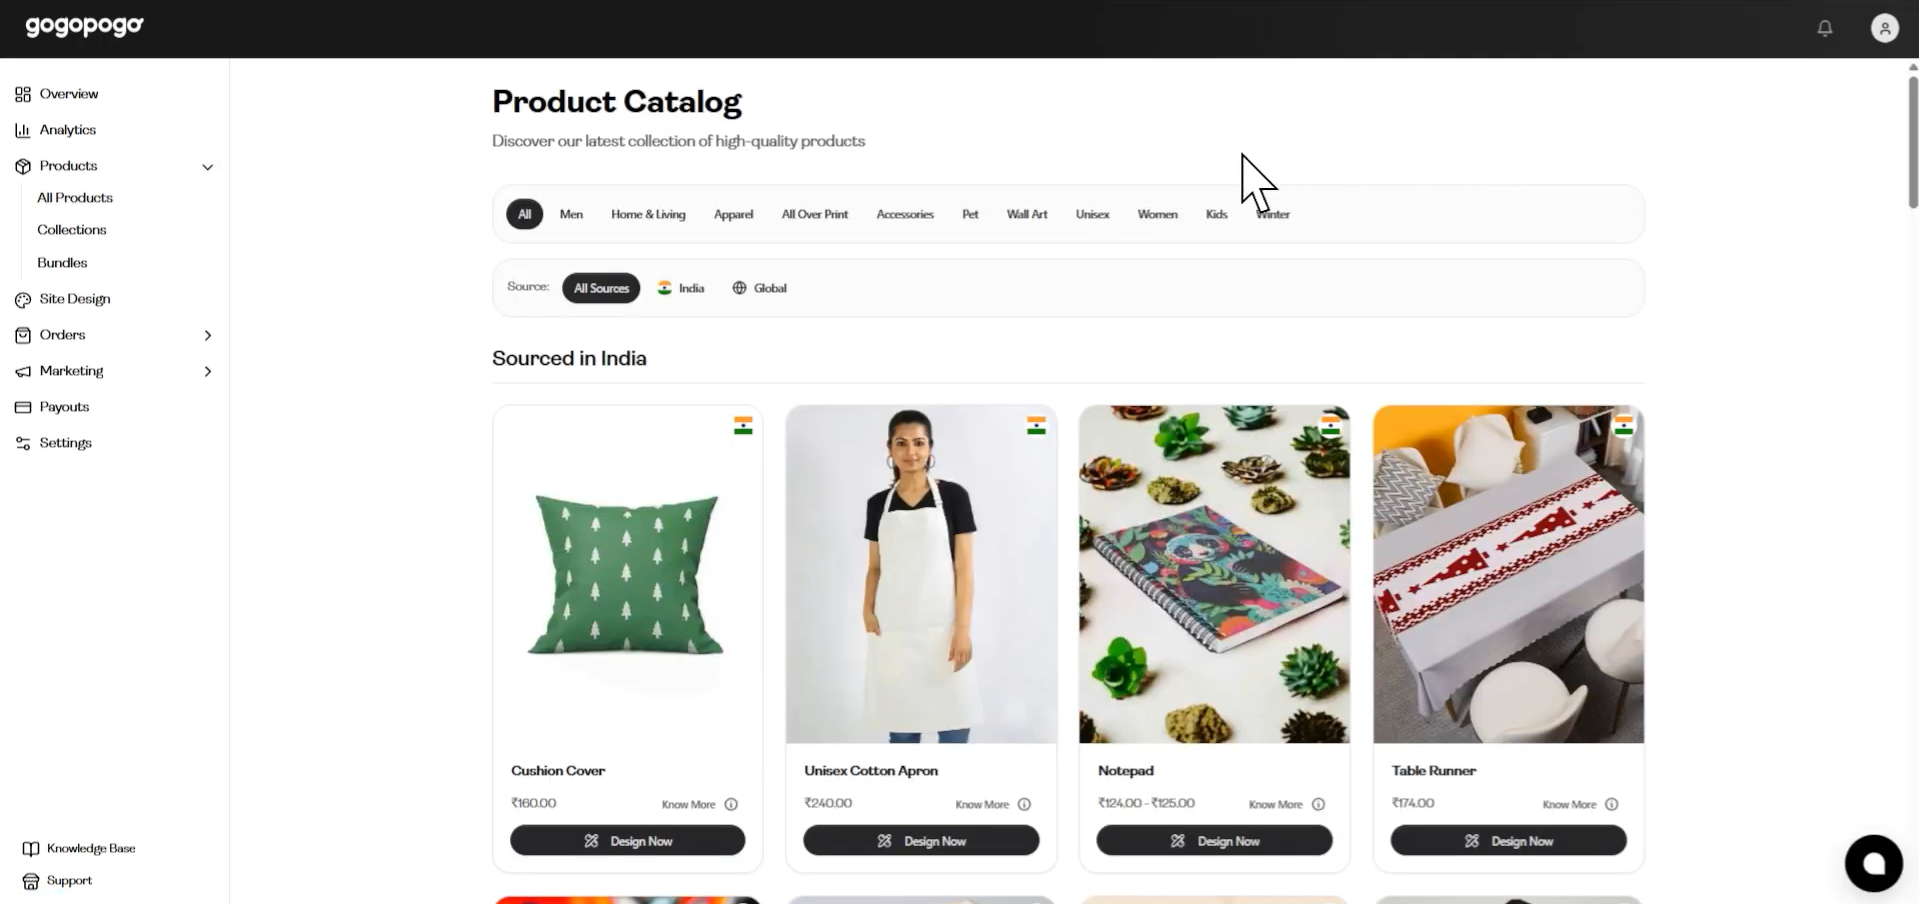
The first major step inside the dashboard is selecting products.
You can browse and choose from categories such as:
T-shirts
Hoodies
Keychains
Cushion Covers
Accessories
Notepads and many more
At this stage, you are deciding what type of merchandise your audience would prefer.
Step 3: Add or Upload Your Designs
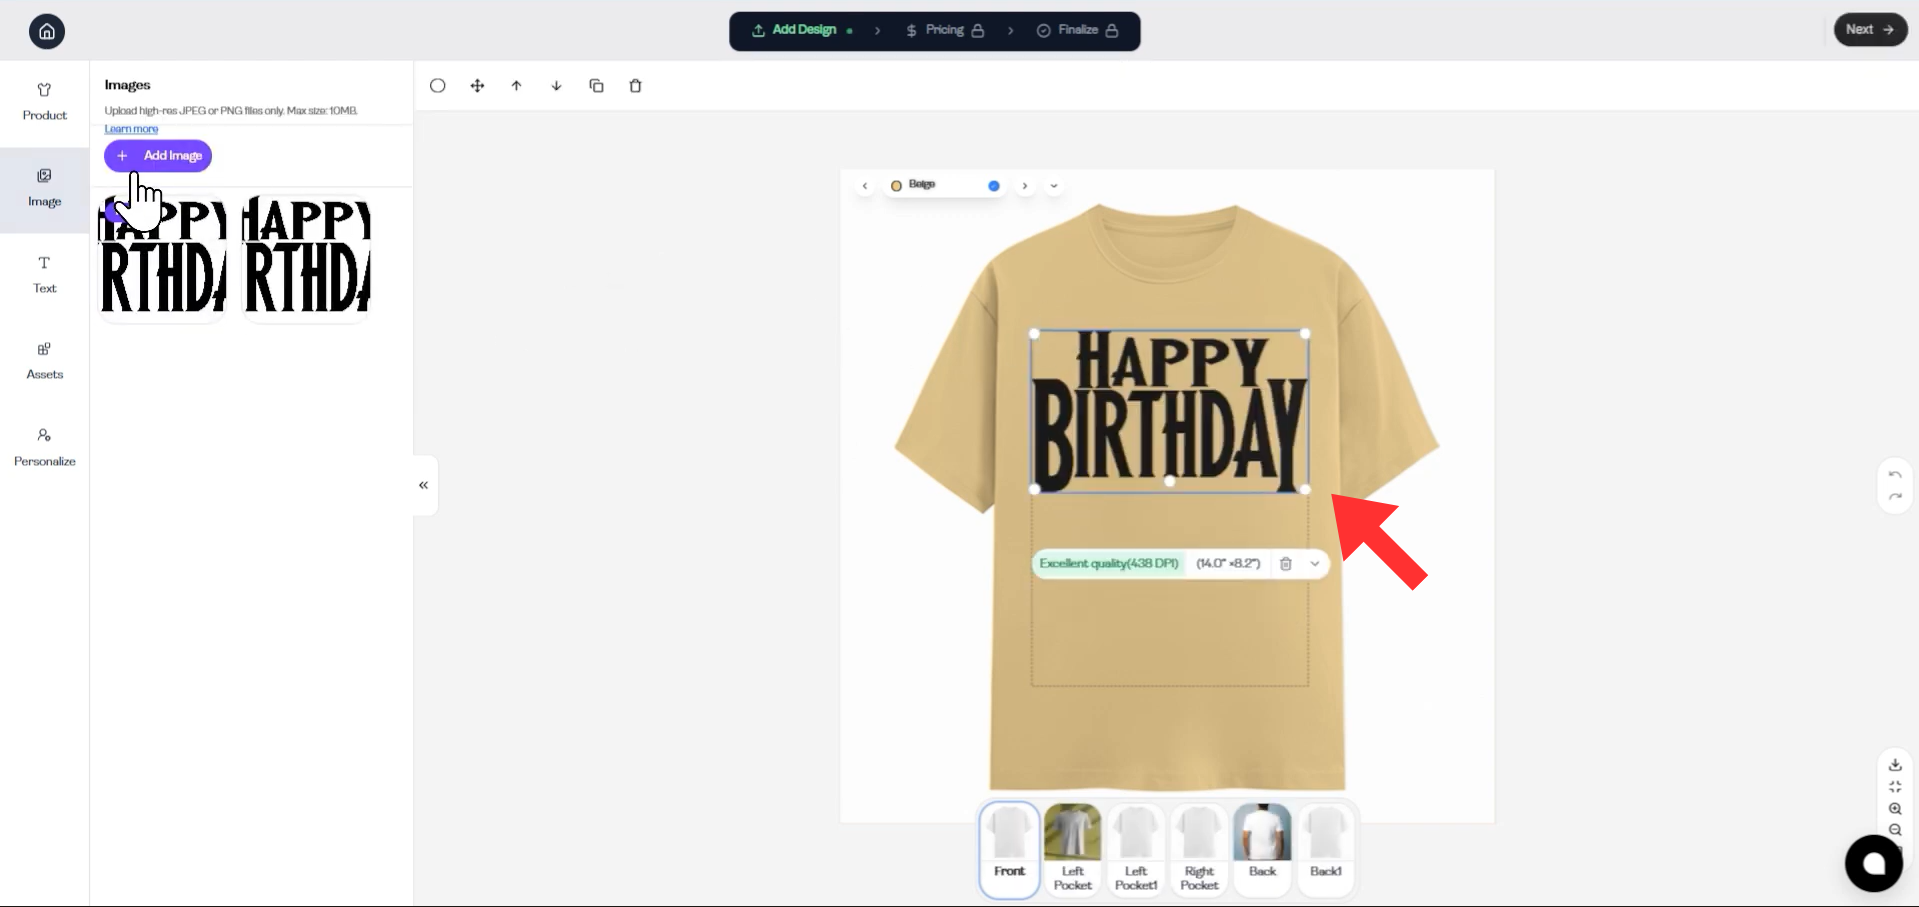
After selecting products, you can now apply your designs.
You can:
Upload your own artwork
Adjust placement and size
Preview mockups automatically generated by the platform
This helps you see how your merch will look before publishing.
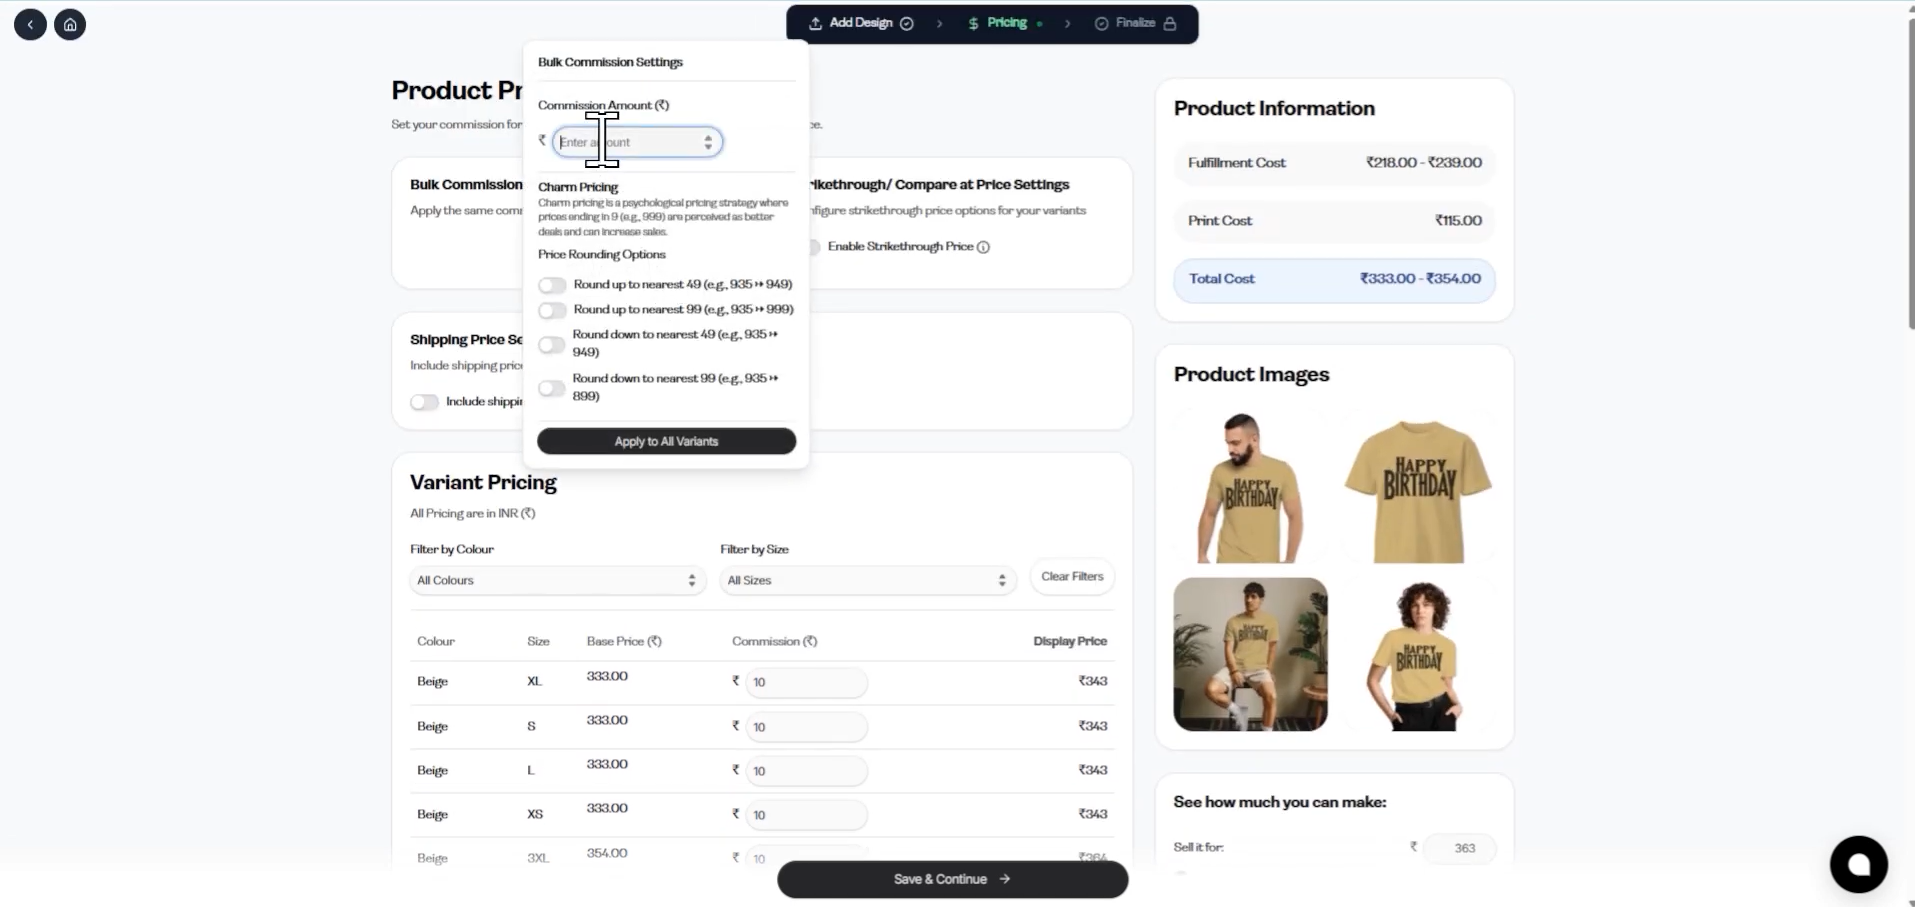
Step 4: Set Pricing and Profit Margin
Once designs are ready, the next step is pricing.
You will see the base cost of each product. You simply set your selling price above that amount.
Example:
Base cost: ₹300
Selling price: ₹599
Profit earned: ₹299 per sale
Your earnings depend on the margin you choose.
Step 5: Customize Your Storefront
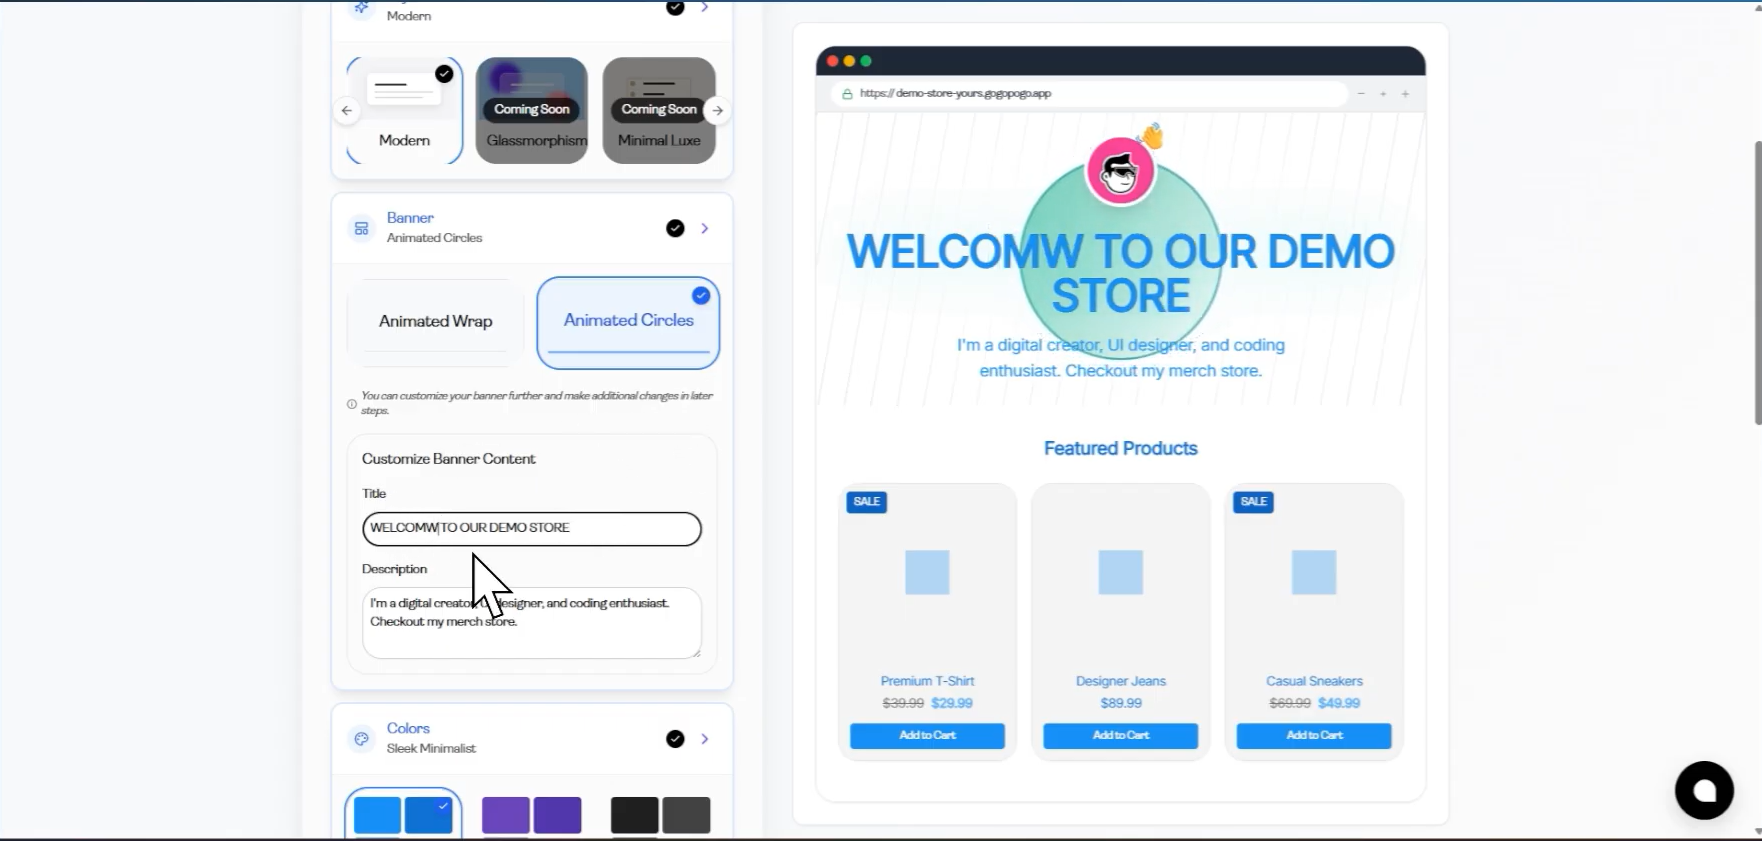
Now you can personalize how your store looks.
You can edit:
Store banner and colors
About section
Product arrangement
Font styles
This step helps make your store look professional and aligned with your content style.
Step 6: Publish and Launch Your Store
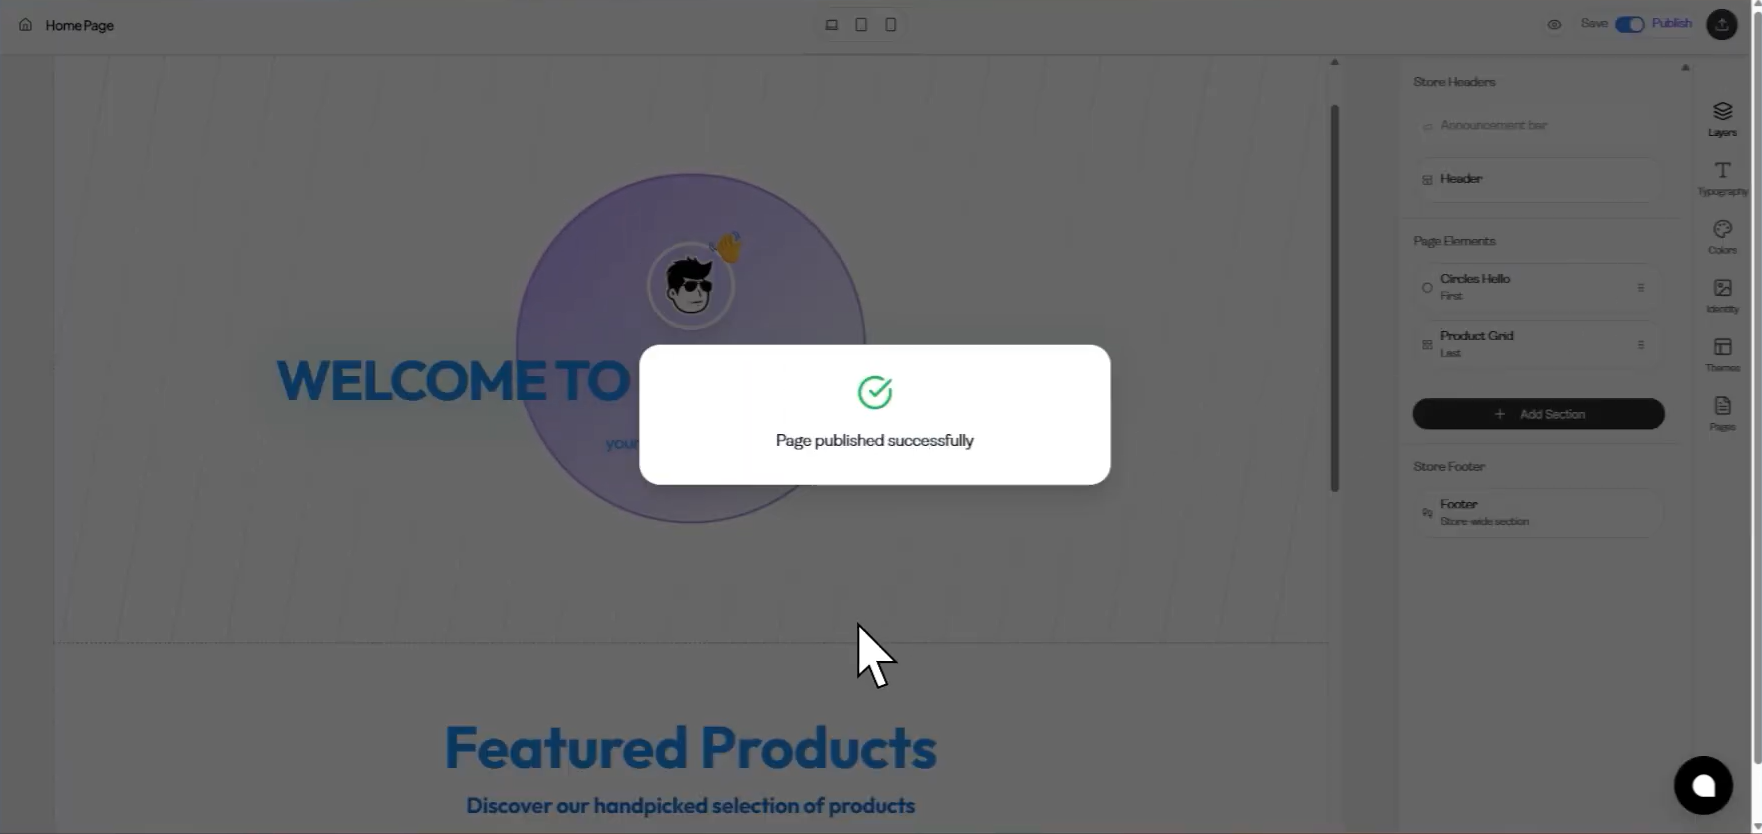
After everything is set:
Publish your products
Generate your store link
Make your store live
You can also connect a custom domain if needed.
Step 7: Promote Your Merch Store
Promotion is essential for sales.
Some effective strategies:
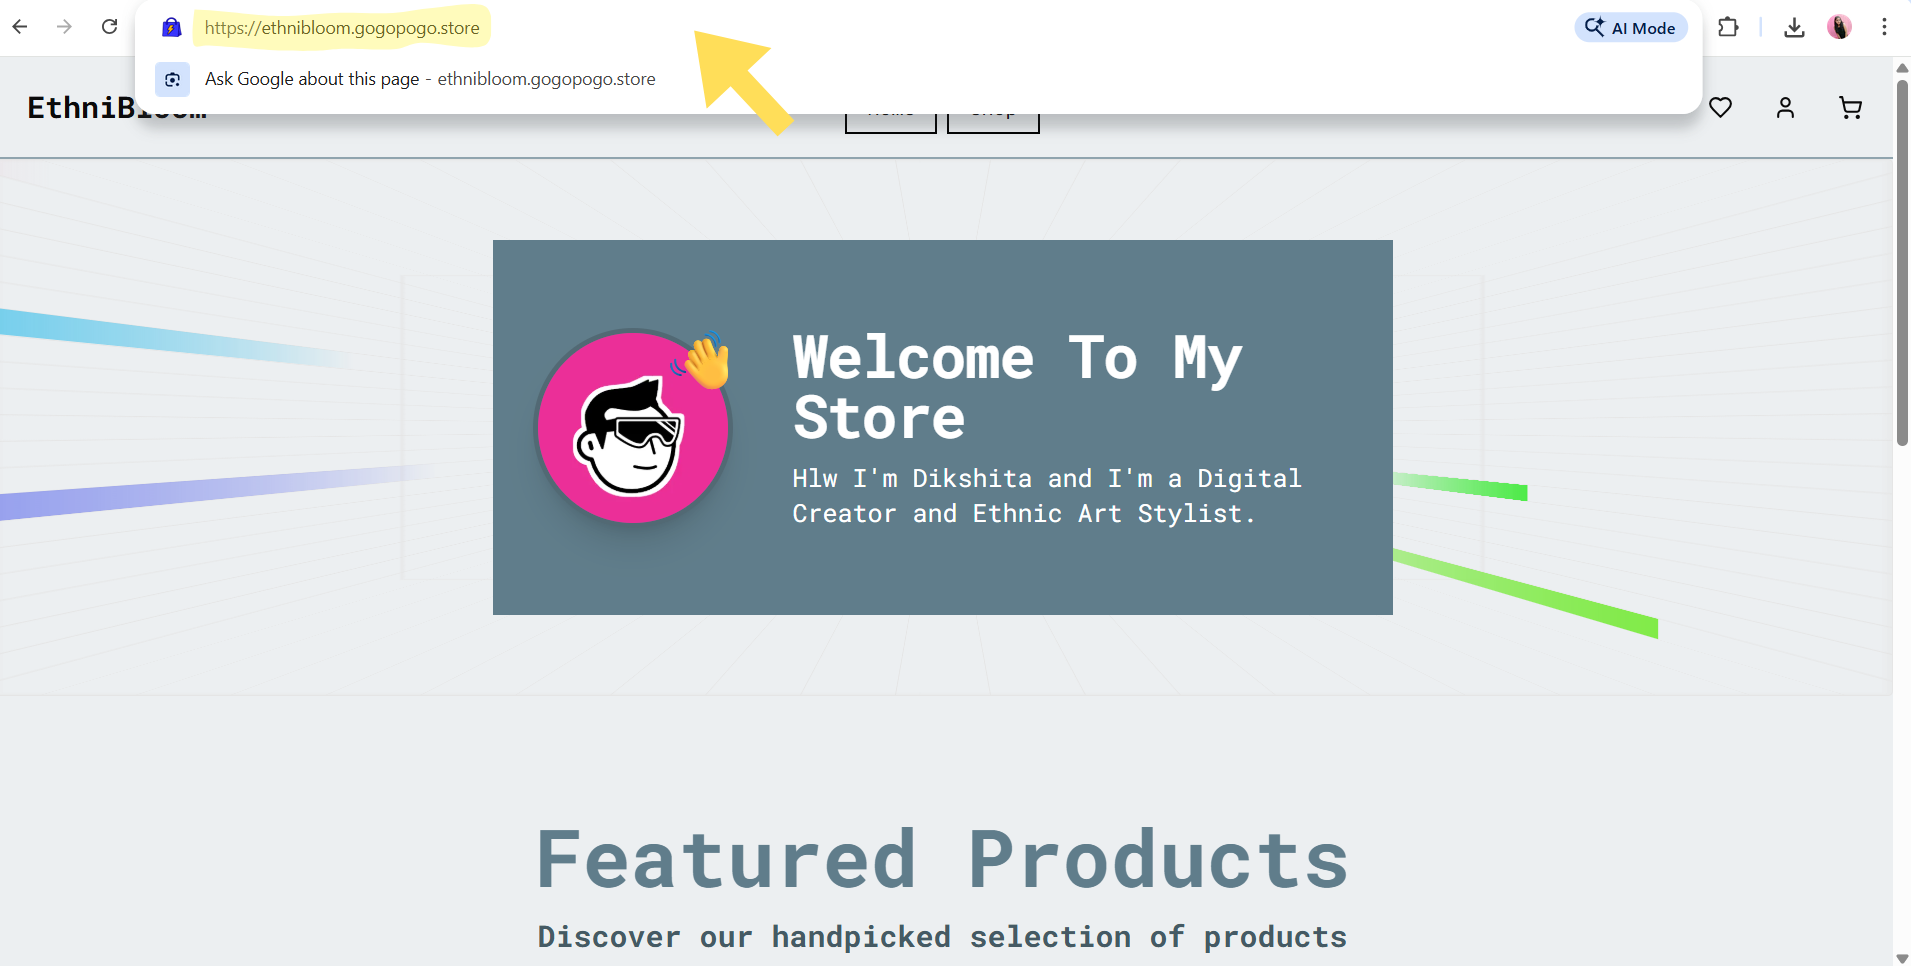
Click on view live store to access your storelink
Add store link to Instagram or YouTube bio
Announce product launches through reels or stories
Create limited-edition drops
Share behind-the-scenes design content
Offer discount codes during launch
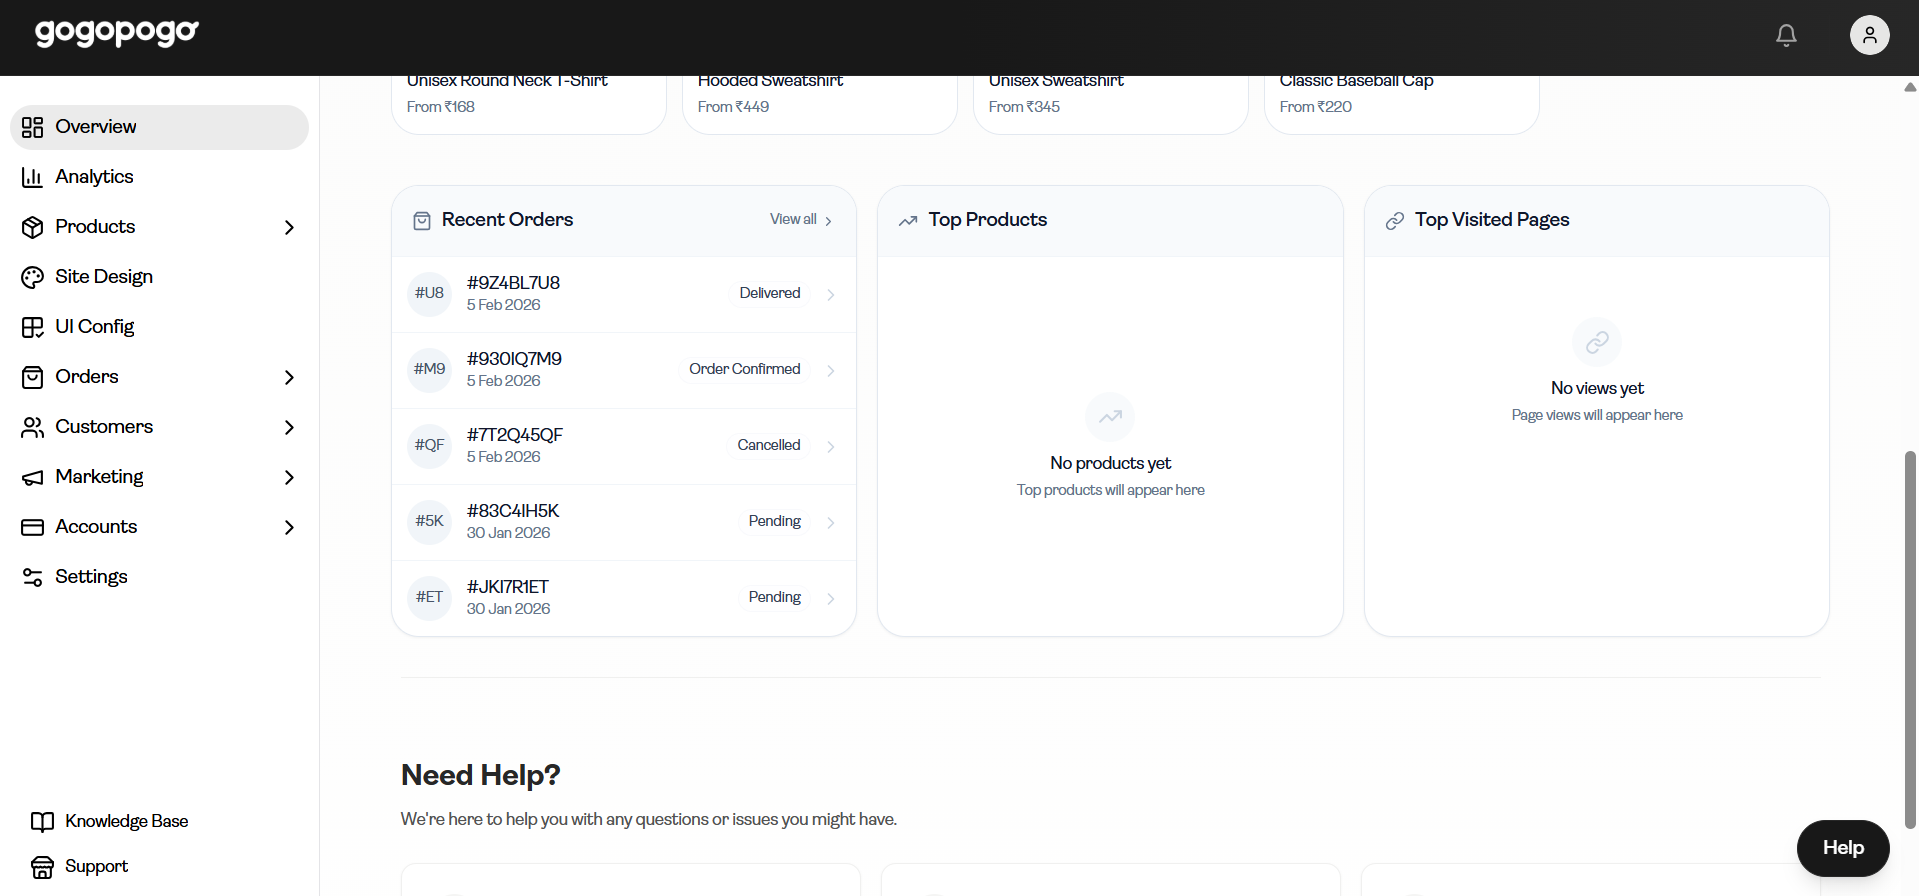
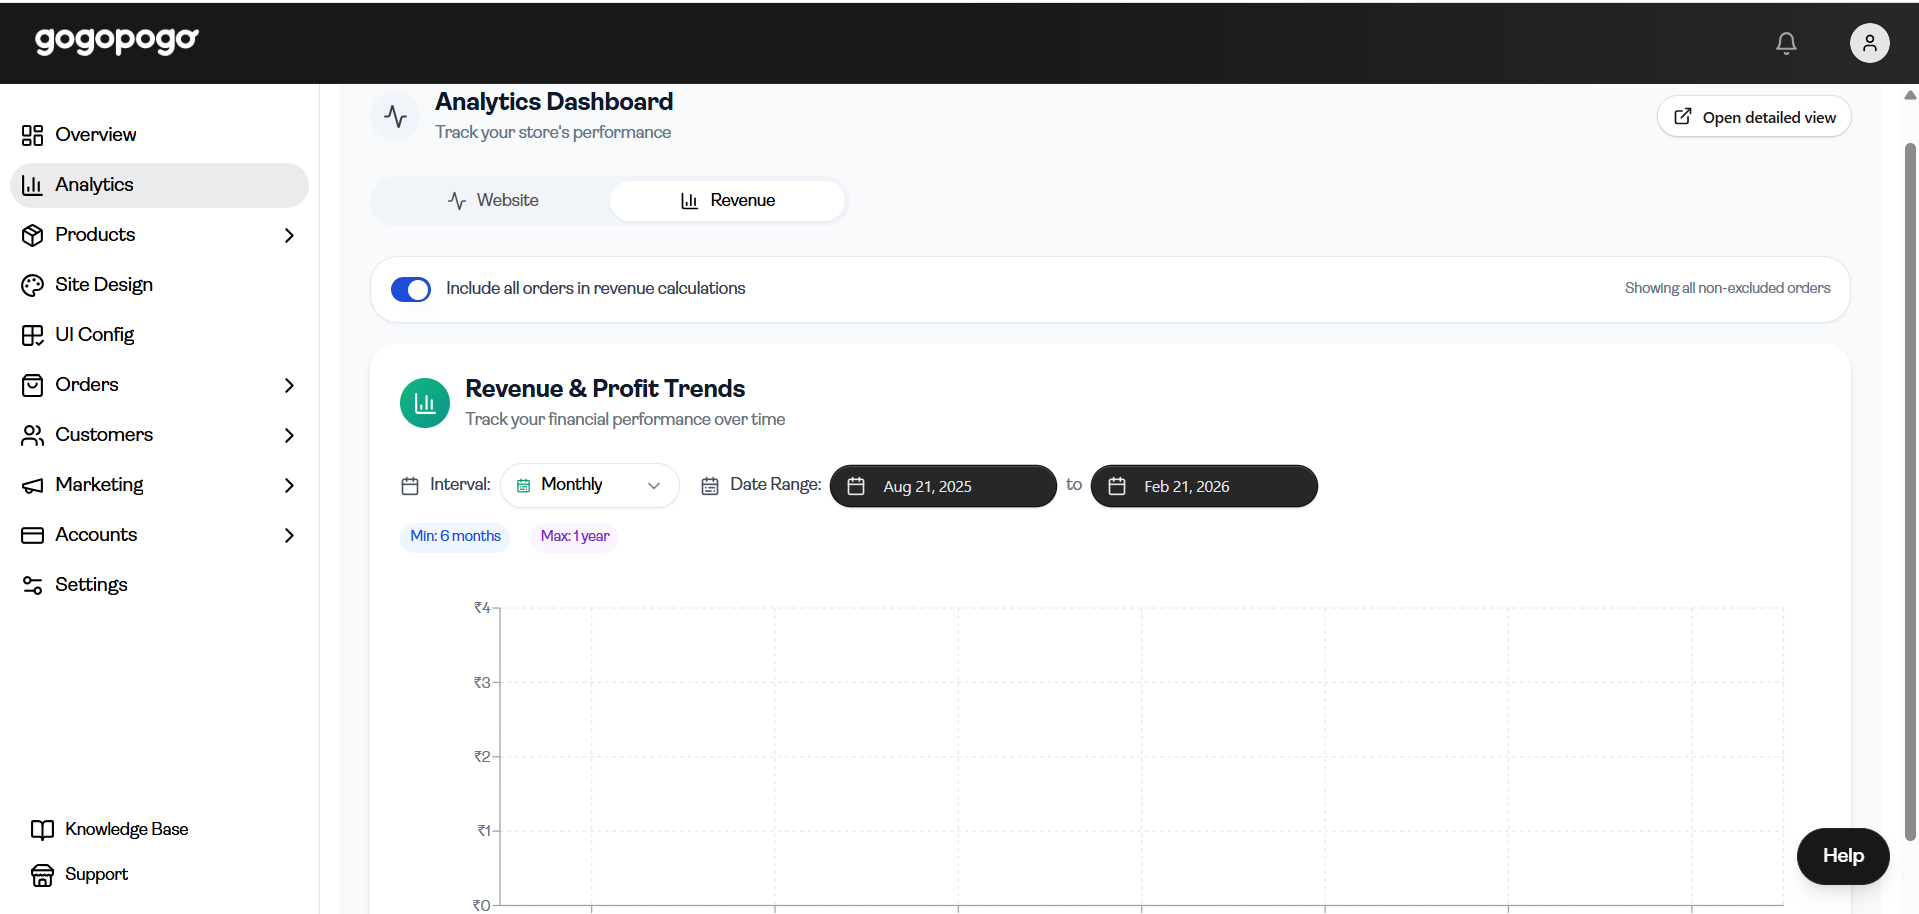
Step 8: Track Orders and Earnings
Inside your dashboard you can:
View all orders
Track payouts and earnings
Monitor performance
Improve designs based on sales data
Since Gogopogo handles logistics, scaling becomes easier as your audience grows.
Launching a merch store no longer requires investment or technical expertise. By following the proper workflow on Gogopogo — choosing products, adding designs, setting profit margins, and publishing — influencers can quickly turn their creativity into a business.
Your content builds attention, and your merch builds a lasting brand.