
How to Start Your GogoPogo Store in ~ 15 Minutes!
Set up and launch your GogoPogo store with this simple step-by-step guide. Follow along with clear instructions and screenshots to create your store, add products, customize the design, and publish it successfully.
Getting Your Store Ready: Step-by-Step Guide!
If you’re ready to start selling your own custom products, GogoPogo makes the process simple and fast. In this guide, we’ll walk you through each step — from creating your account to publishing your store — using clear screenshots so you can follow along and launch confidently.
By the end of this tutorial, your store will be live and ready to share with your audience.
---
Step 1: Sign Up or Log In To GogoPogo Platform
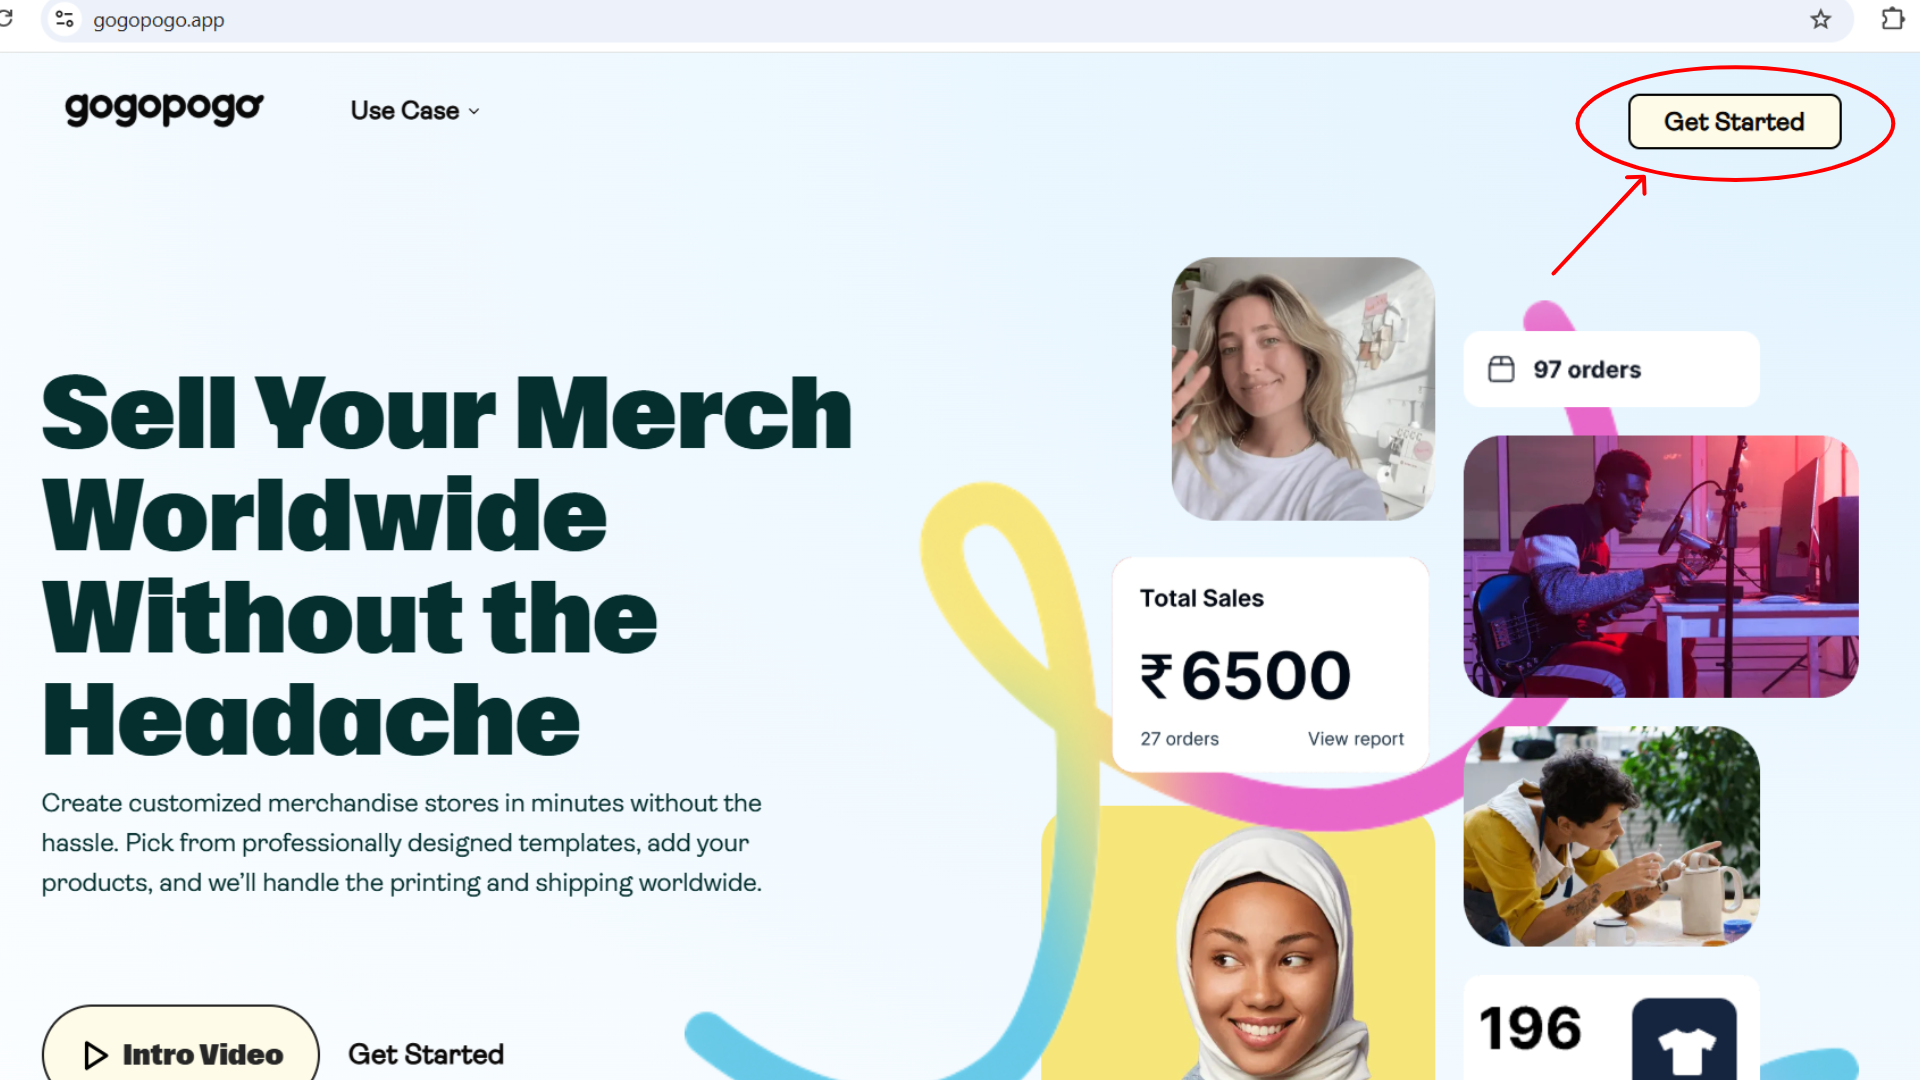
Go to https://www.gogopogo.app/
You’ll see the homepage with a “Get Started” button. Click Get Started to begin.
You’ll be taken to an account creation screen.
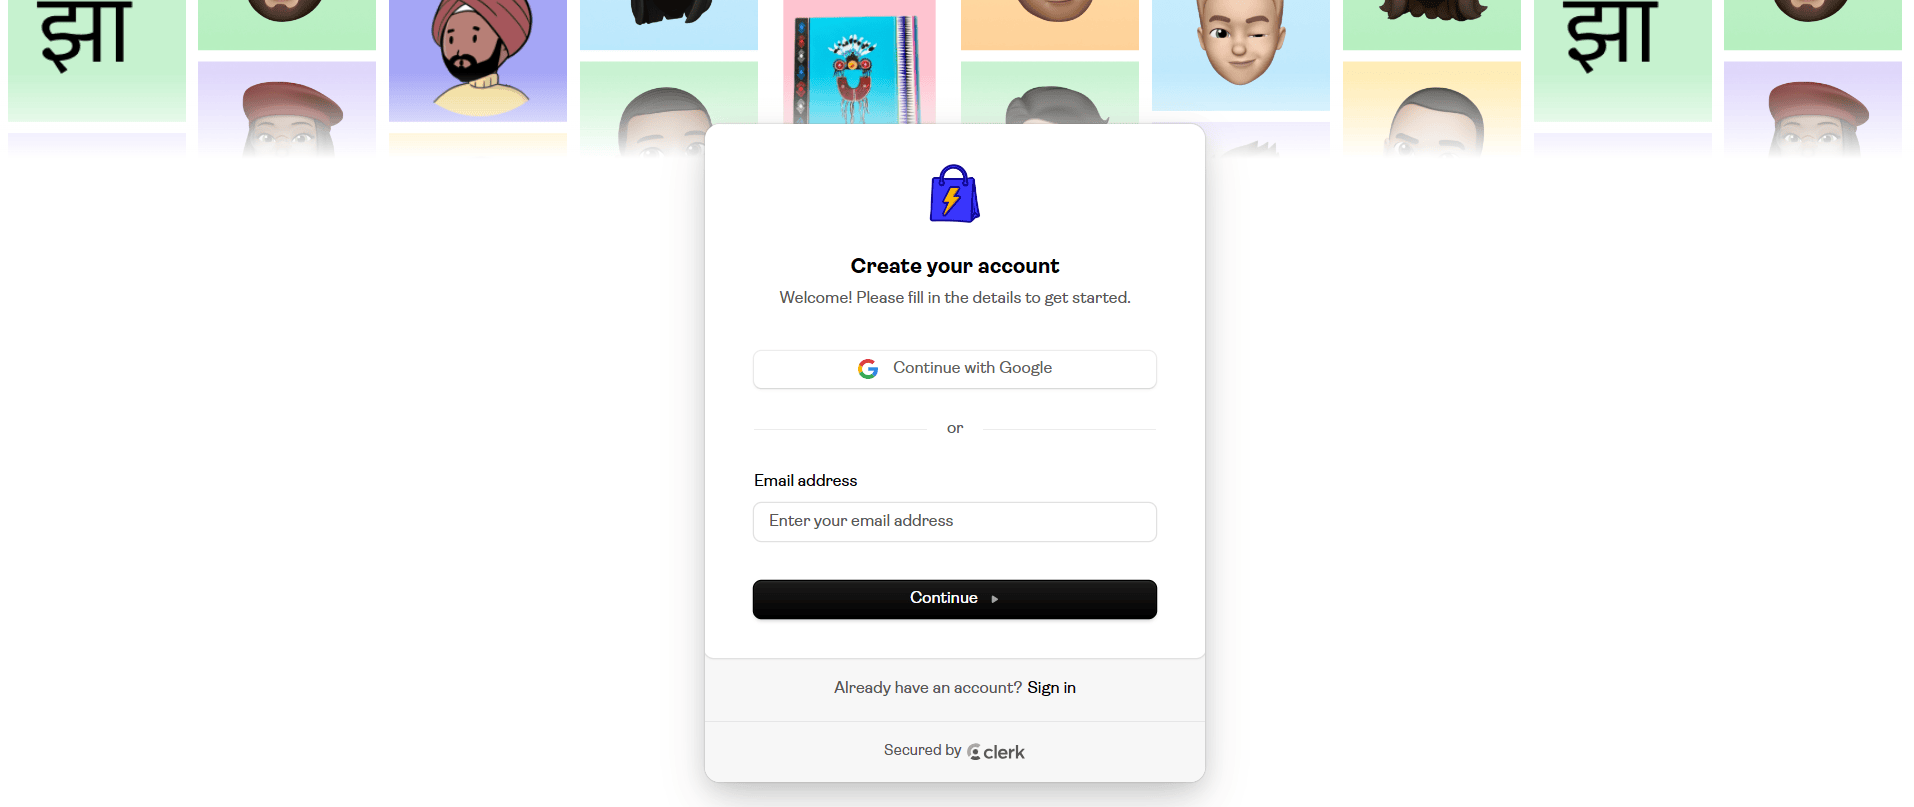
Sign up using one of these options:
– Email & Password
– Google Login
After signup, you’ll be taken to your dashboard.
---
Step 2: Enter Your Store Name
You’ll see a prompt asking for your store name.
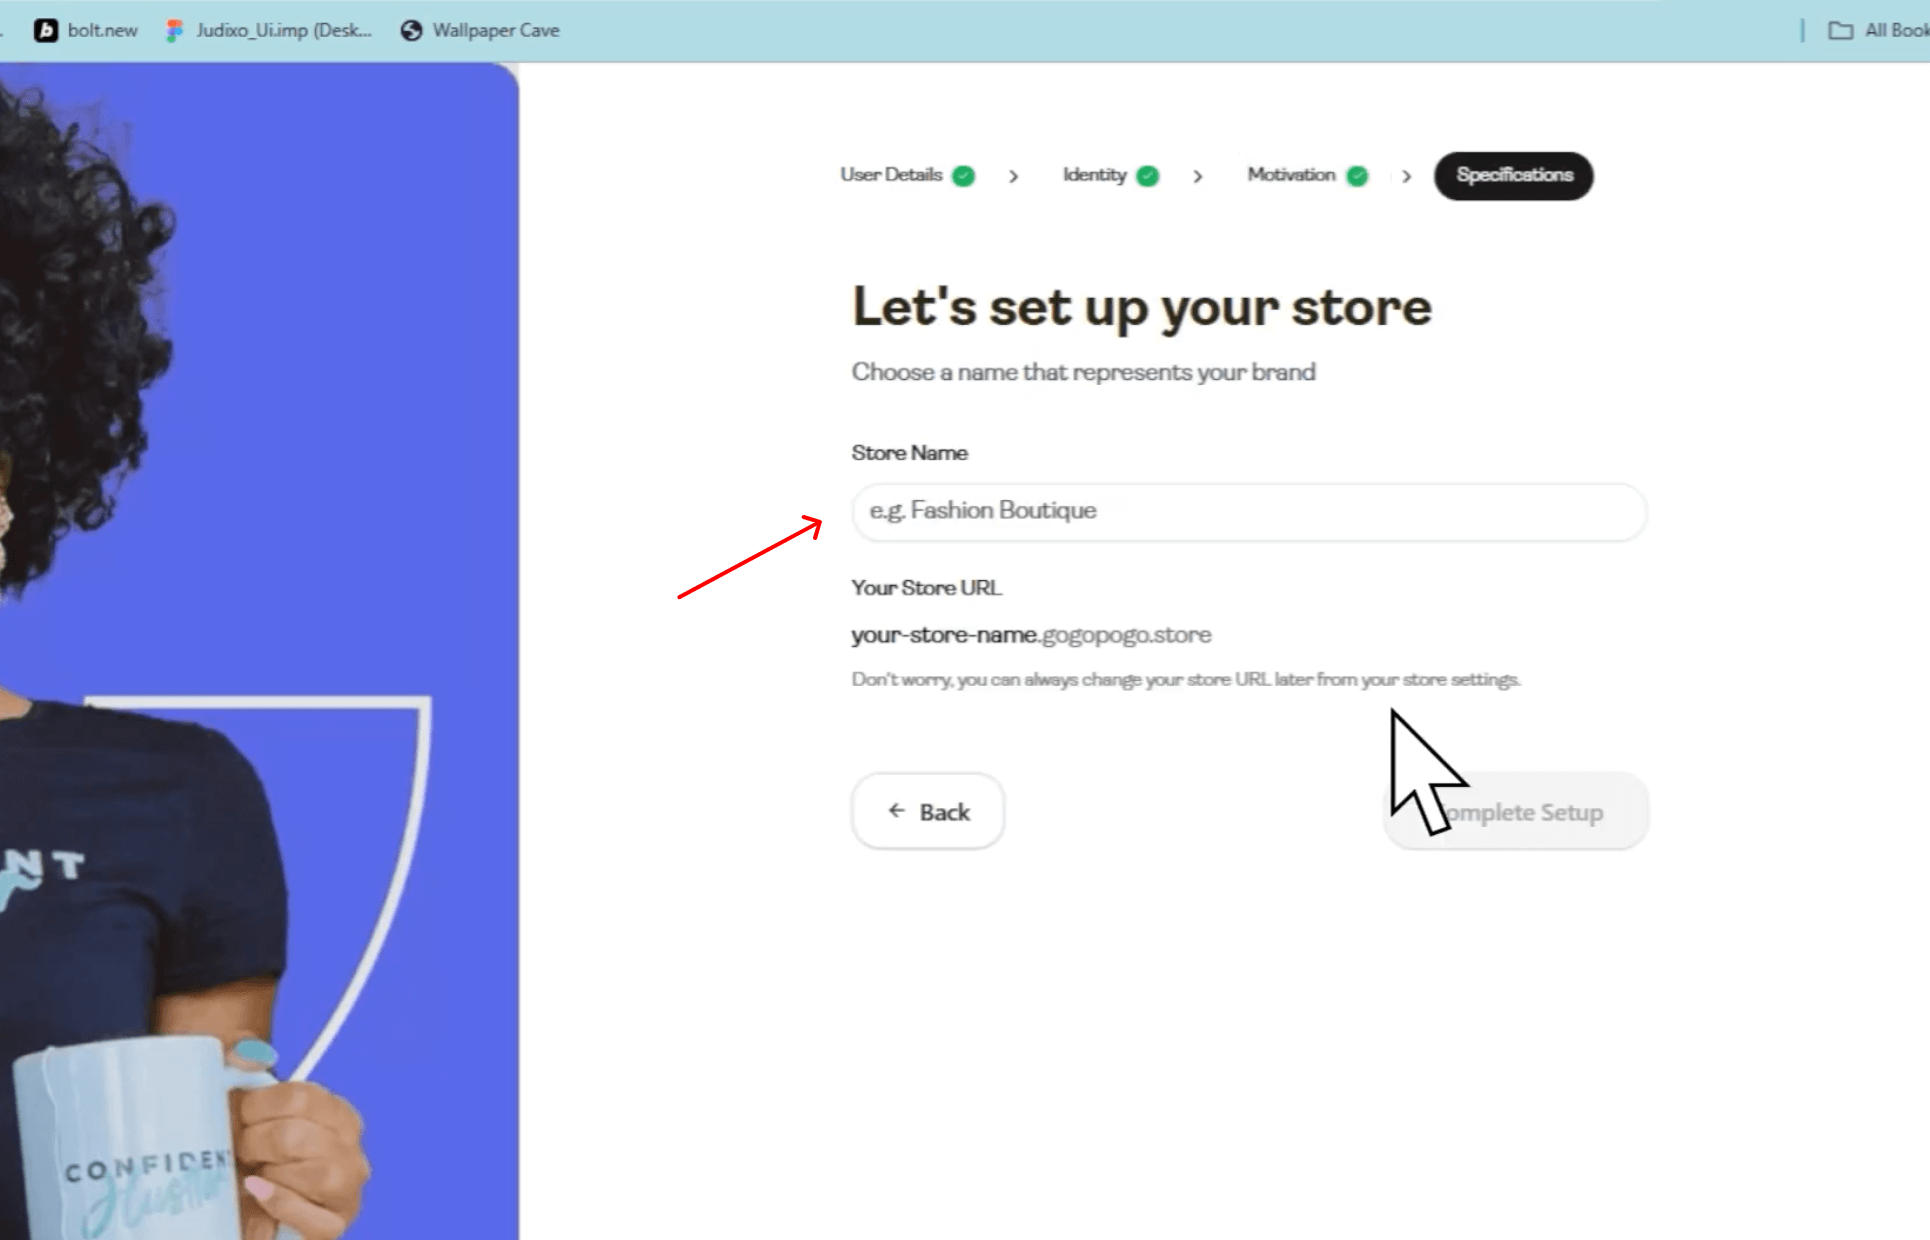
Tip: Pick something short and memorable. This usually becomes part of your store URL (for example: mystore.gogopogo.store).
Enter the name and continue.
---
Step 3: View Your Store Dashboard
Once logged in, you’ll land on the dashboard or store setup overview page.
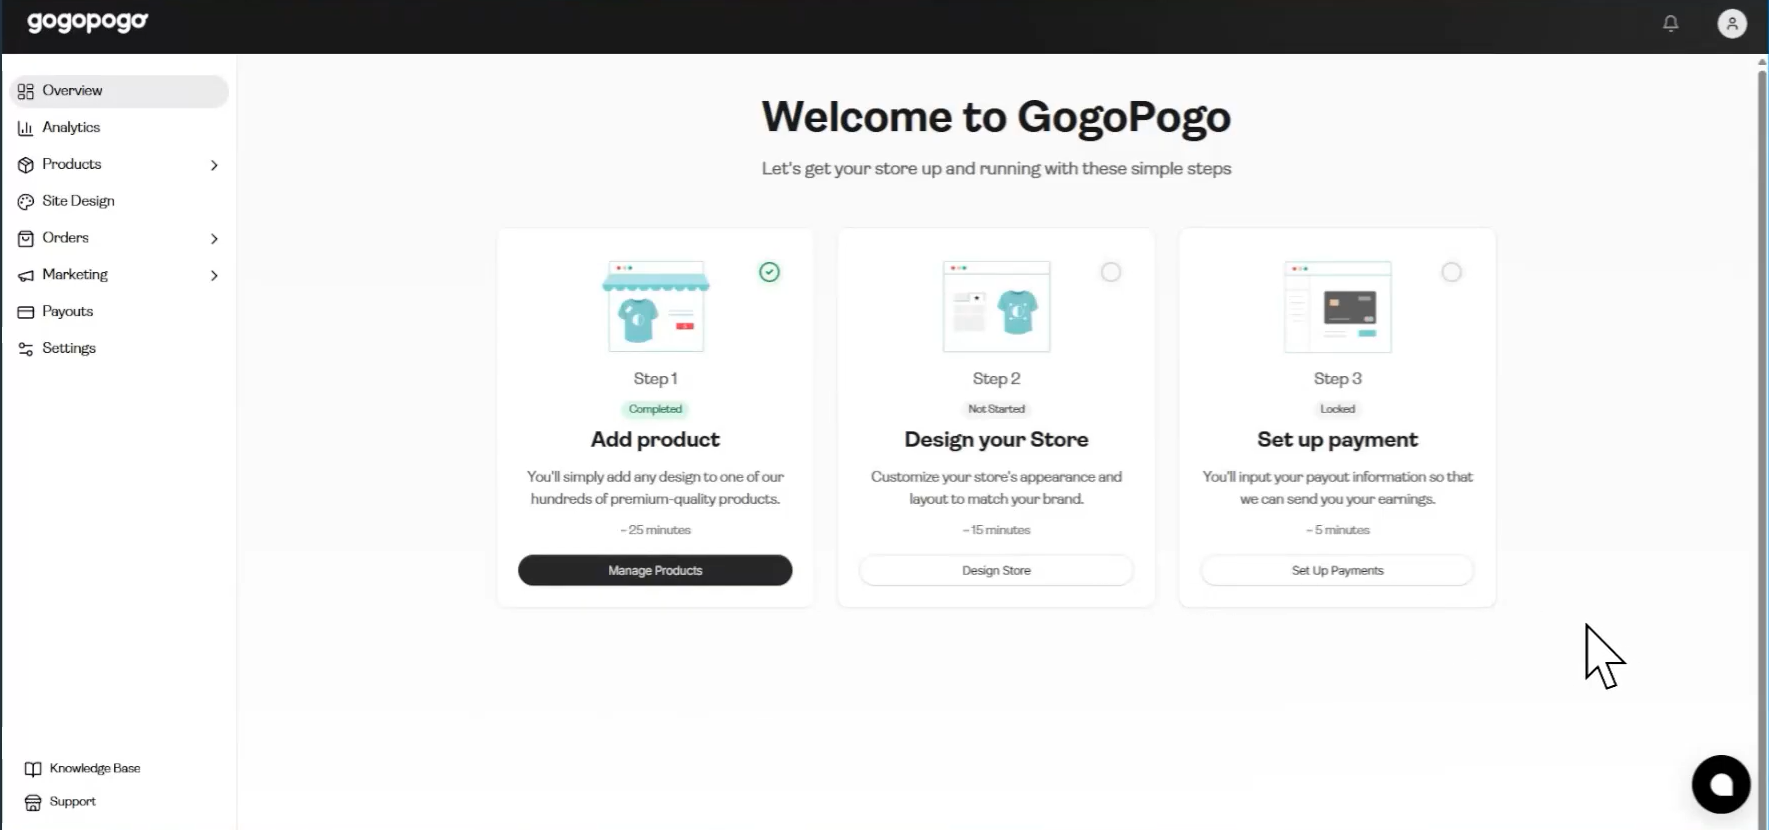
From here, you can typically:
– Click “Add Products”
– Click “Design Your Store”
– Click “Setup Payment”
A left side navigation bar is also present with various tools.
---
Step 4: Add Your First Product
Click Products < All Products < Add New Product.
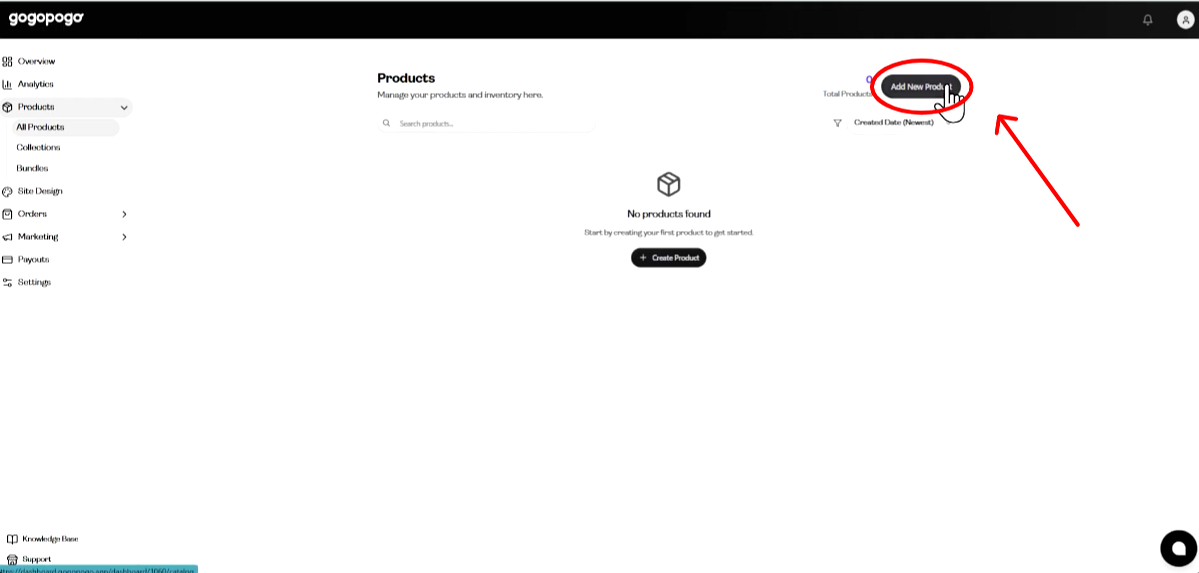
You will see options to:
– Choose a product type (t-shirts, mugs, prints, etc.)
– Upload your design file and select colors
– Adjust pricing
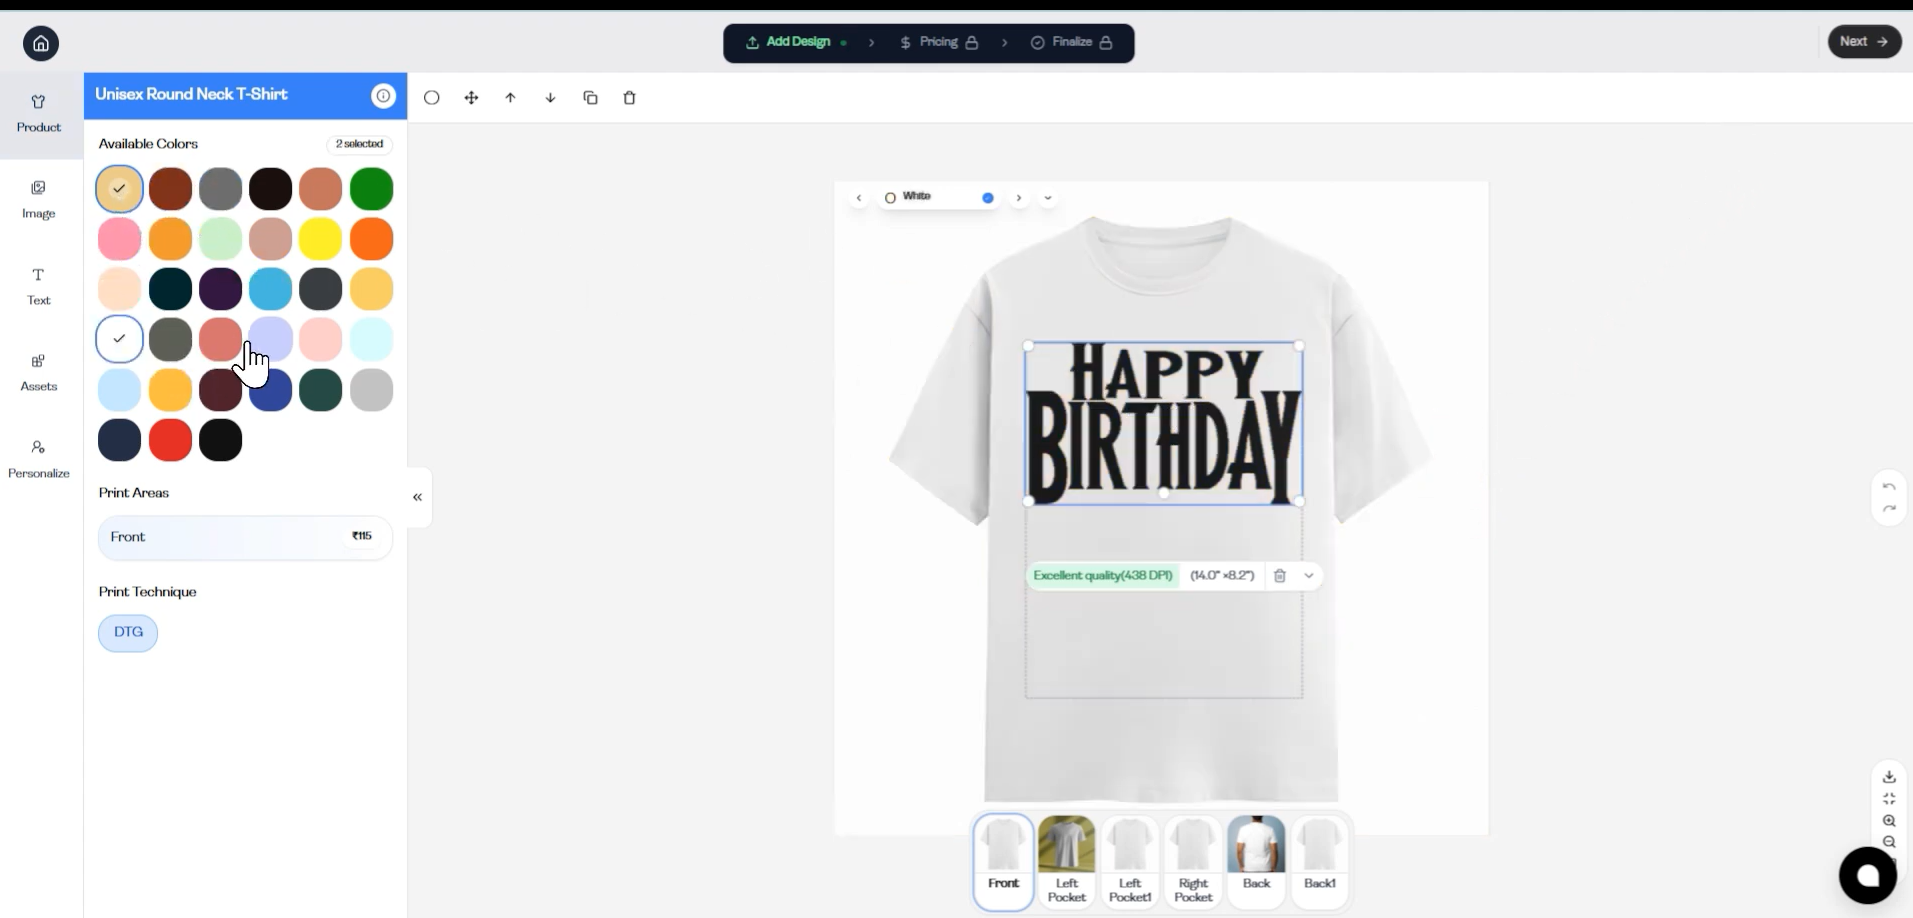
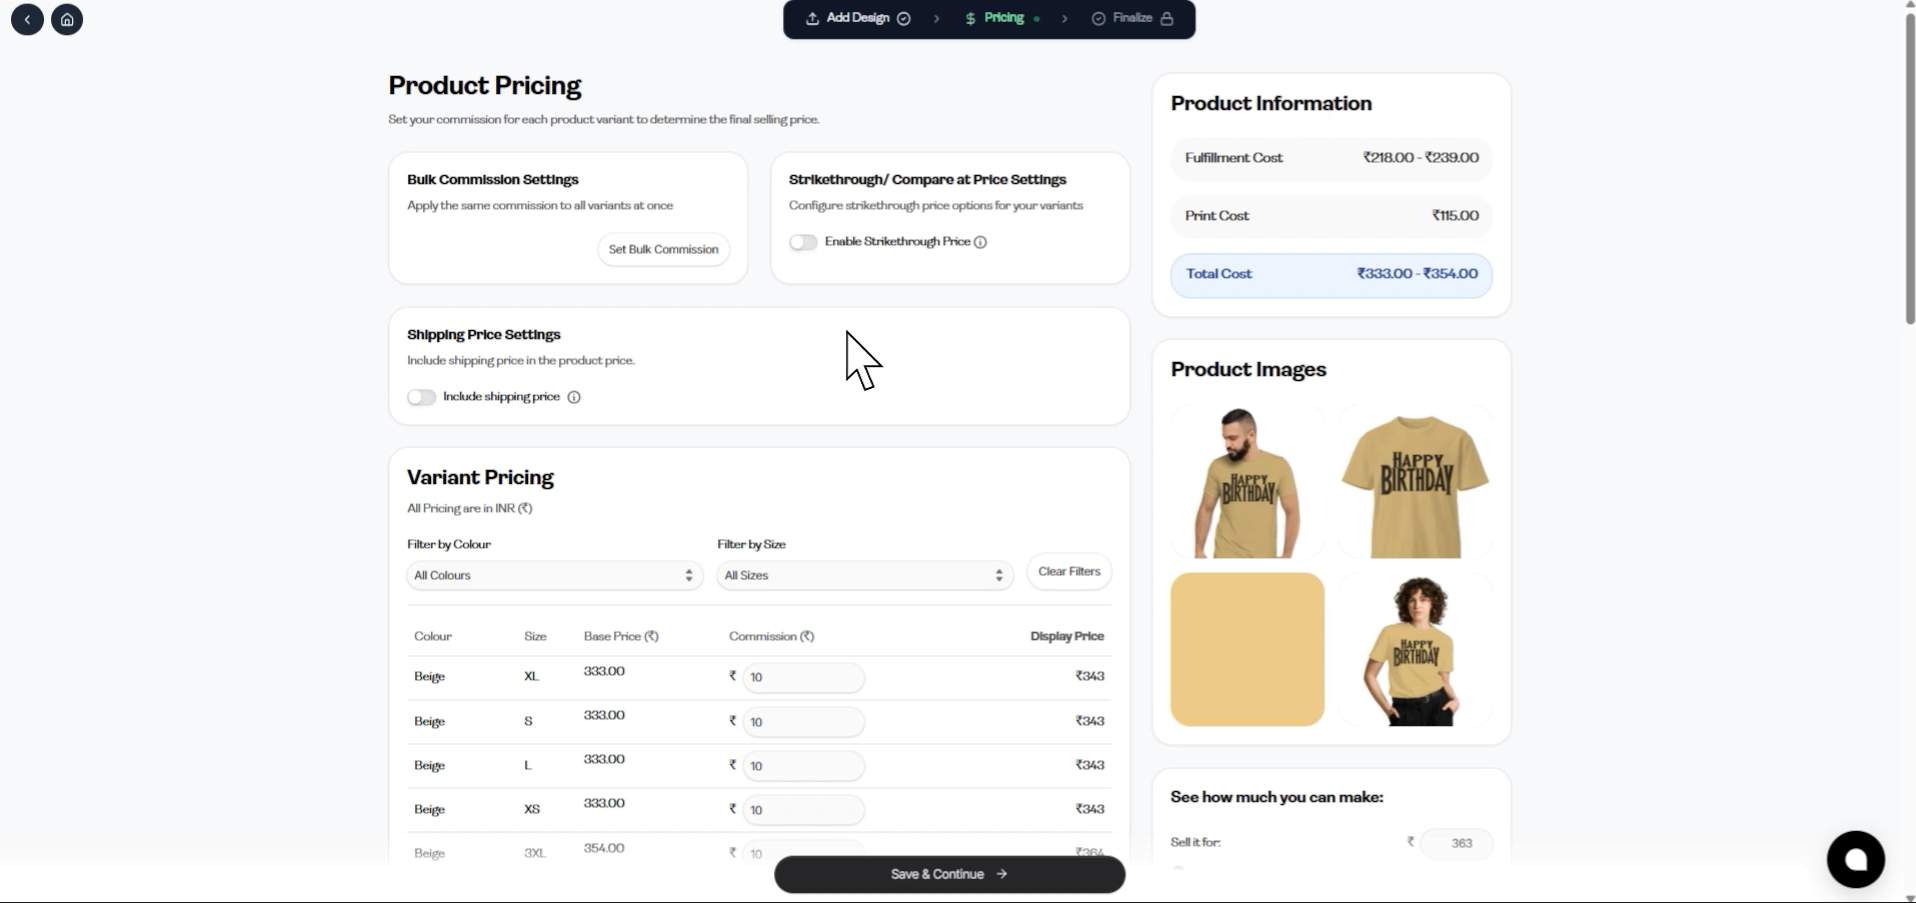
Upload your design, select the products you want to sell, and set your prices. Then click save and continue.
---
Step 5: Customize Your Store
Go to Design Your Store.
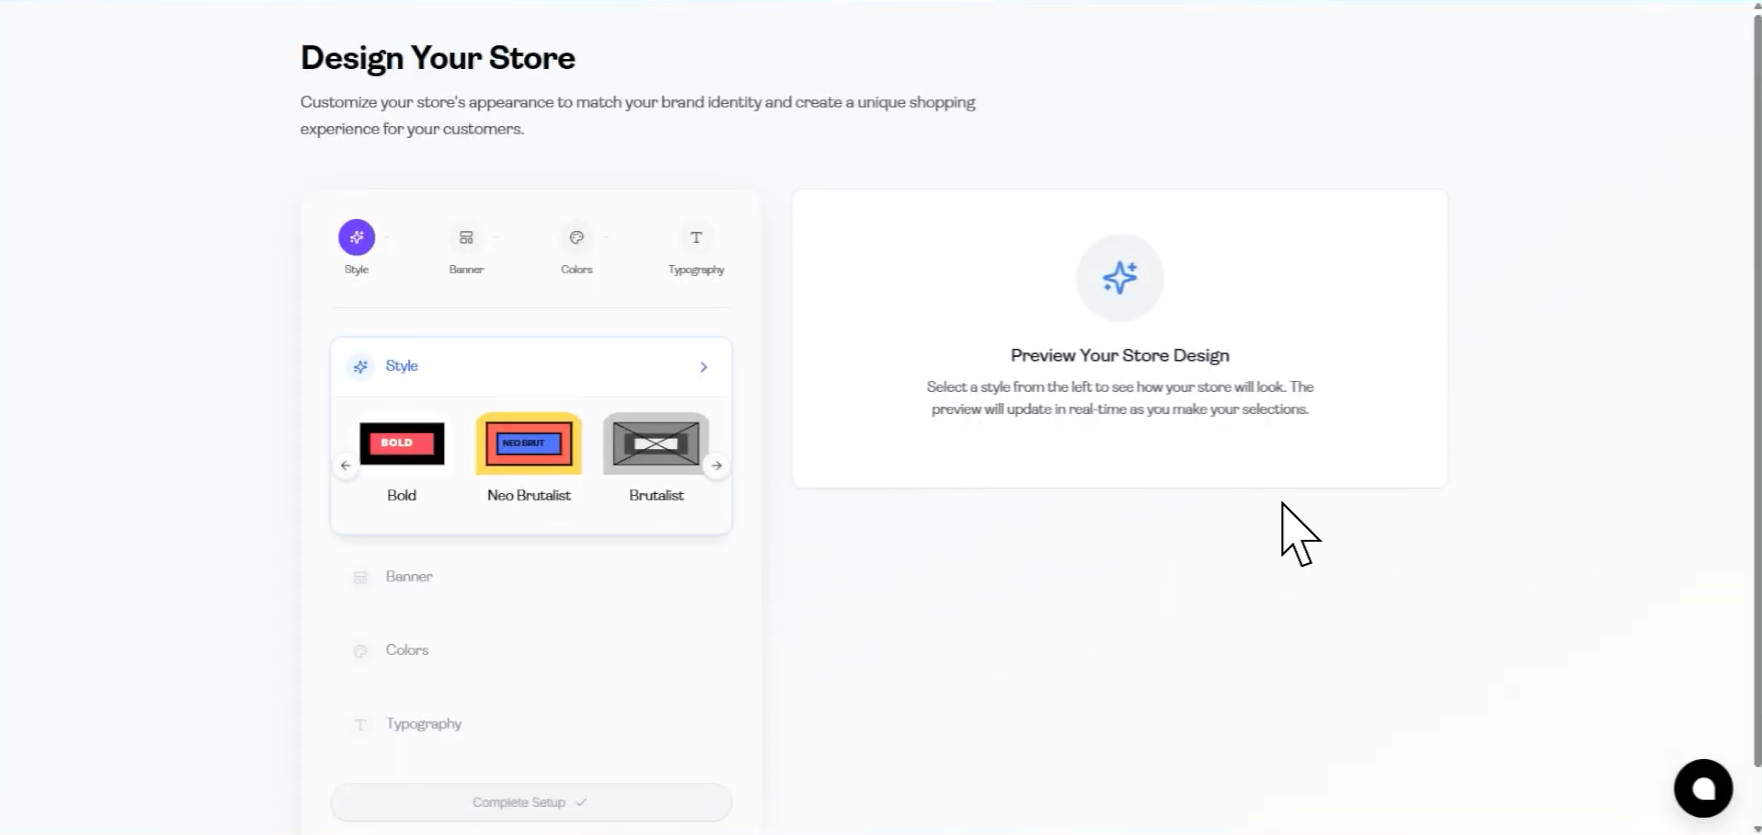
Here you can:
– Choose a template or theme
– Update your brand colors
– Add your logo
– Edit homepage text
Make sure your store looks clean and aligned with your brand.
---
Step 6: Preview Your Store
Click Preview option (Eye icon).
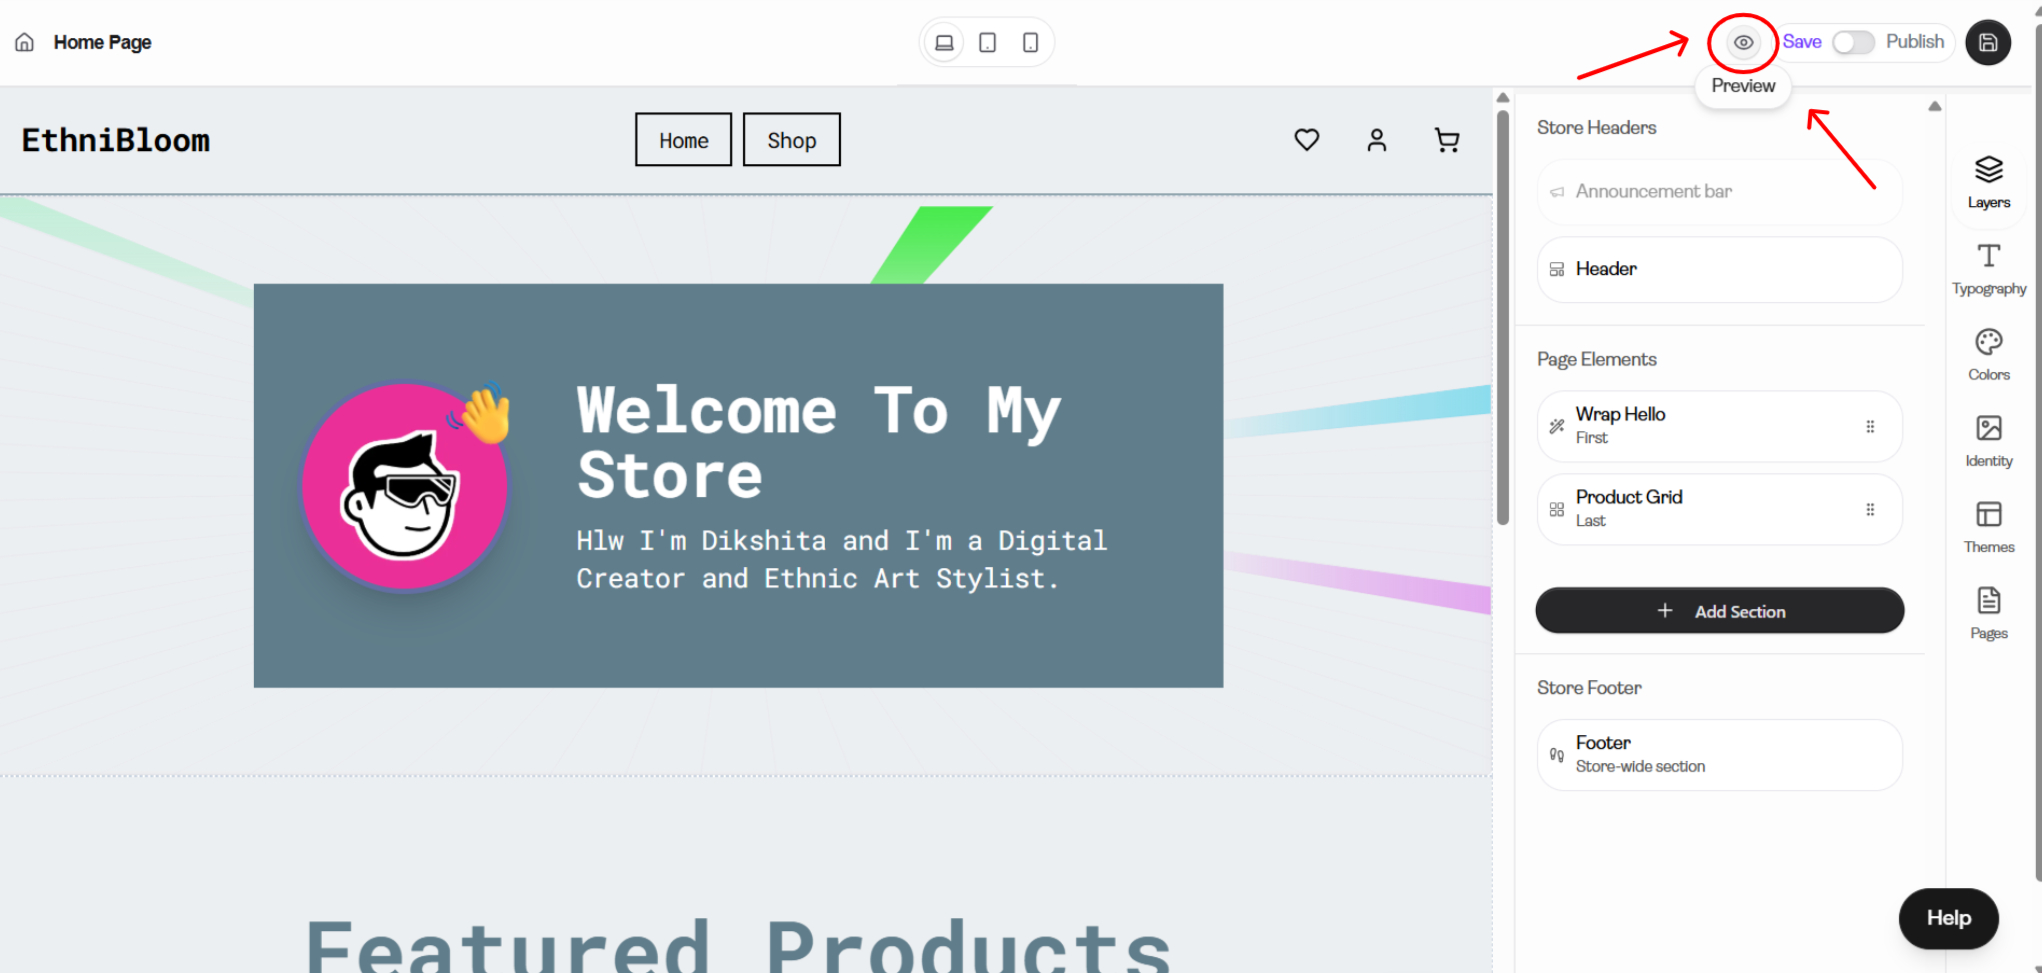
This lets you see your store as customers will see it.
Check that:
– Your products display properly
– Your logo and colors look correct
– Navigation works smoothly
---
Step 7: Publish Your Store
Once everything looks good, click save and Publish Store.
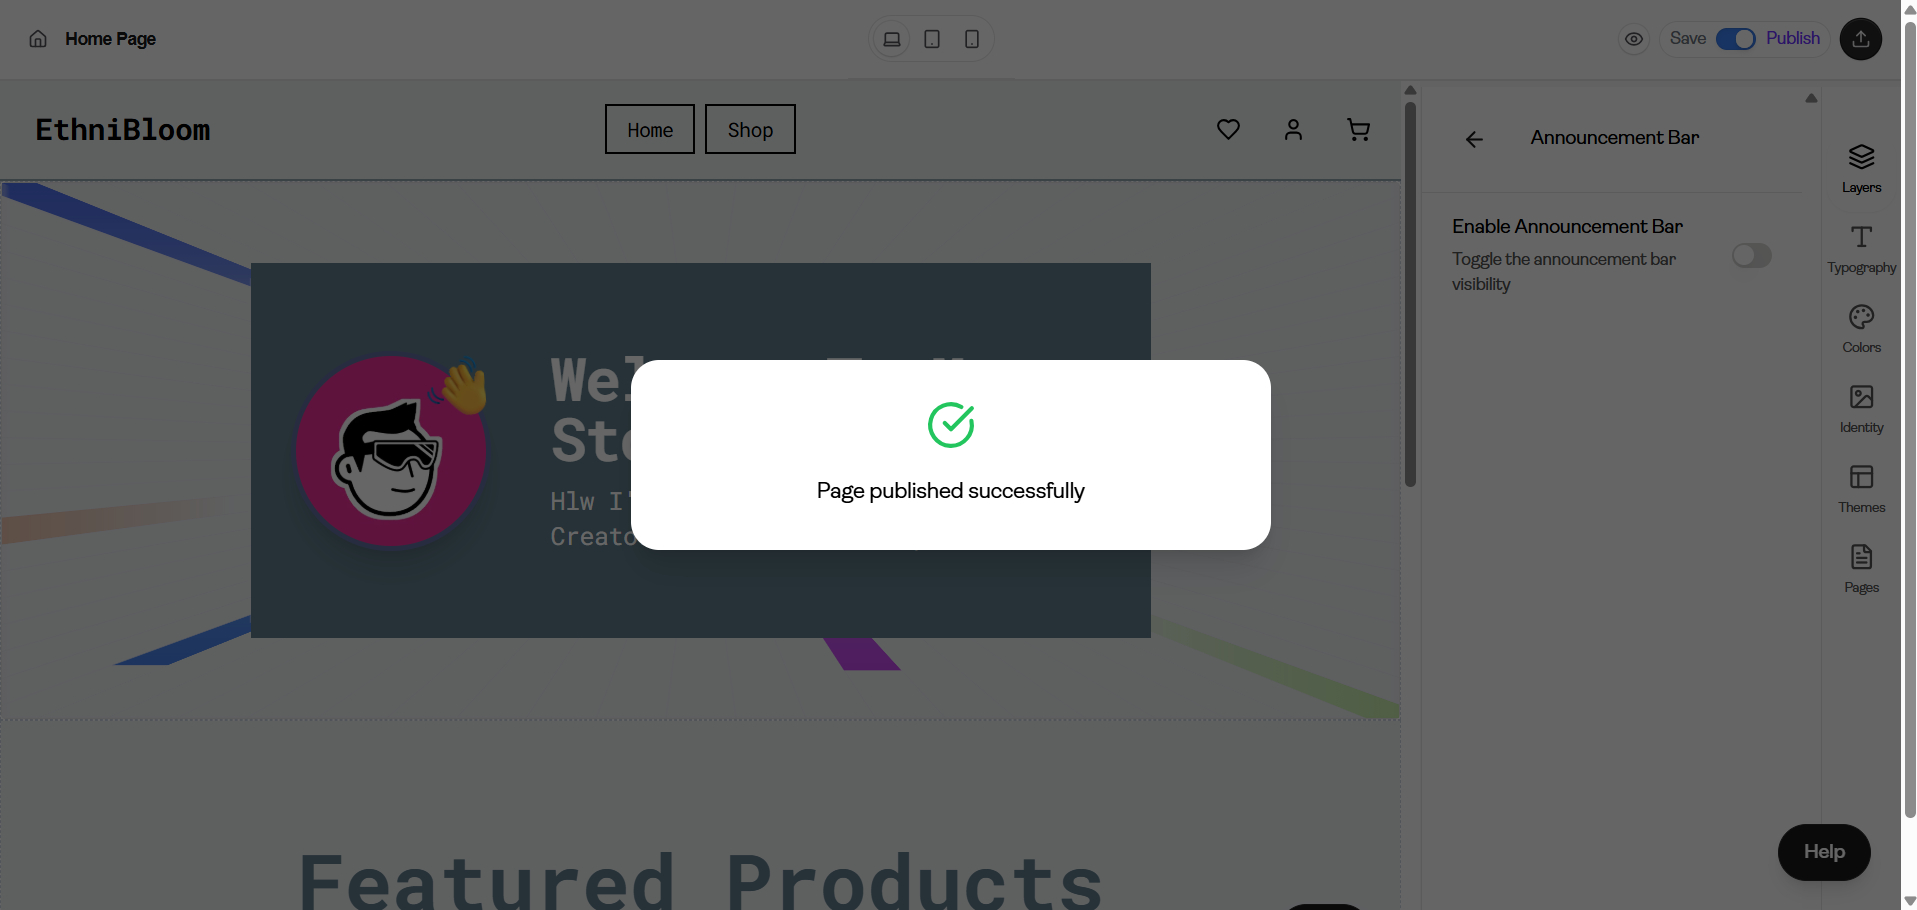
Your store will go live at a URL similar to:
[https://yourstorename.gogopogo.store]
Your GogoPogo store is now live and ready to start receiving orders.
You can now share this link with your audience.
---