
Upload Your Designs on GogoPogo | Step-by-Step Artwork Upload Tutorial
Learn how to quickly add your artwork to products on GogoPogo using the built-in design editor. This tutorial walks you through selecting your design, adjusting its placement, and generating product preview images before publishing. Follow these simple steps to transform your artwork into ready-to-sell product mockups.
Step-by-Step Guide to Uploading and Previewing Designs on GogoPogo
Uploading your artwork is one of the most important steps when creating products on GogoPogo. The platform allows creators to easily add their designs and preview them on products before publishing.
In this guide, we will walk you through the complete step-by-step process of uploading your design artwork to GogoPogo, so you can start selling custom products quickly.
Step 1: Open the Product Design Editor
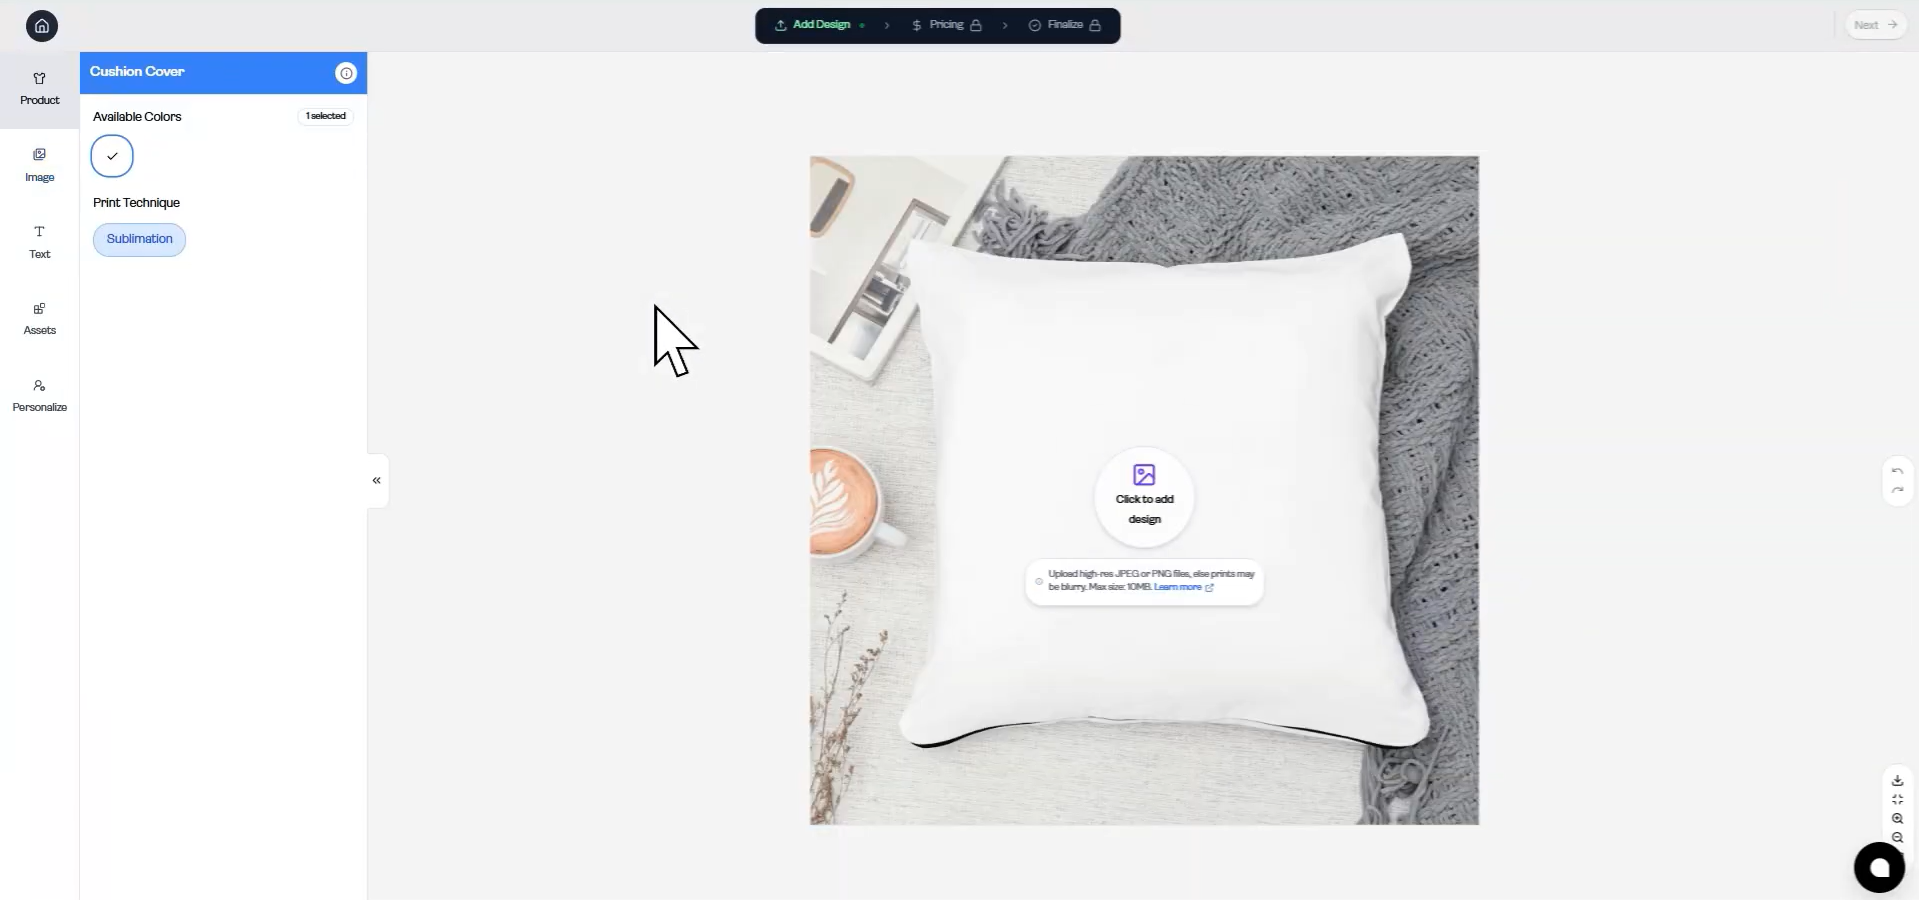
Once you have selected the product you want to design, the design editor page will open.
Here you will see:
A product preview area in the center
A left sidebar with design tools
Options like Product, Image, Text, Assets, and Personalize
The center area will show the product mockup (for example, a cushion cover) where your design will appear.
Step 2: Select the Image Upload Option
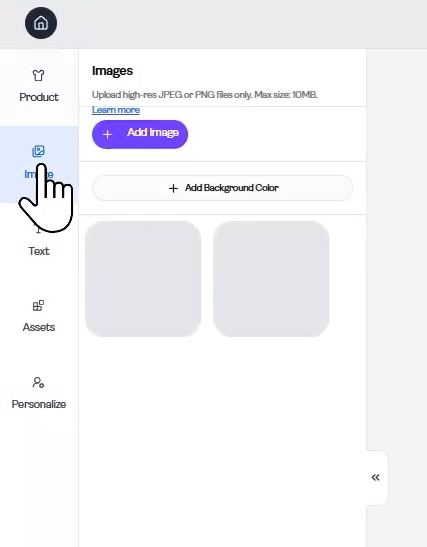
To upload your artwork, go to the left sidebar and click on Image.
This section allows you to upload design files directly from your device.
Inside the Image section you will see:
Add Image button
Image upload area
Design library preview
Step 3: Click “Add Image”
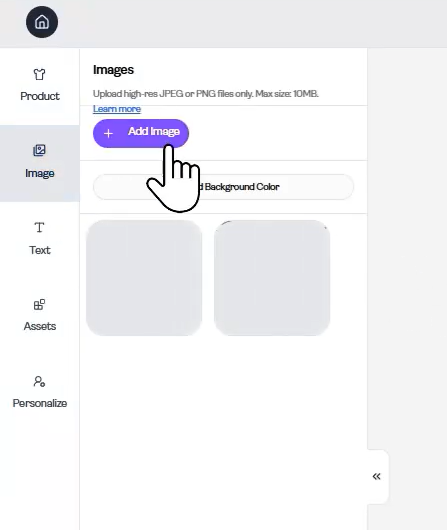
Now click the Add Image button.
This will open your computer’s file selection window, where you can choose the artwork you want to upload.
Supported formats usually include:
JPG
PNG
Make sure your file meets the recommended size and quality guidelines.
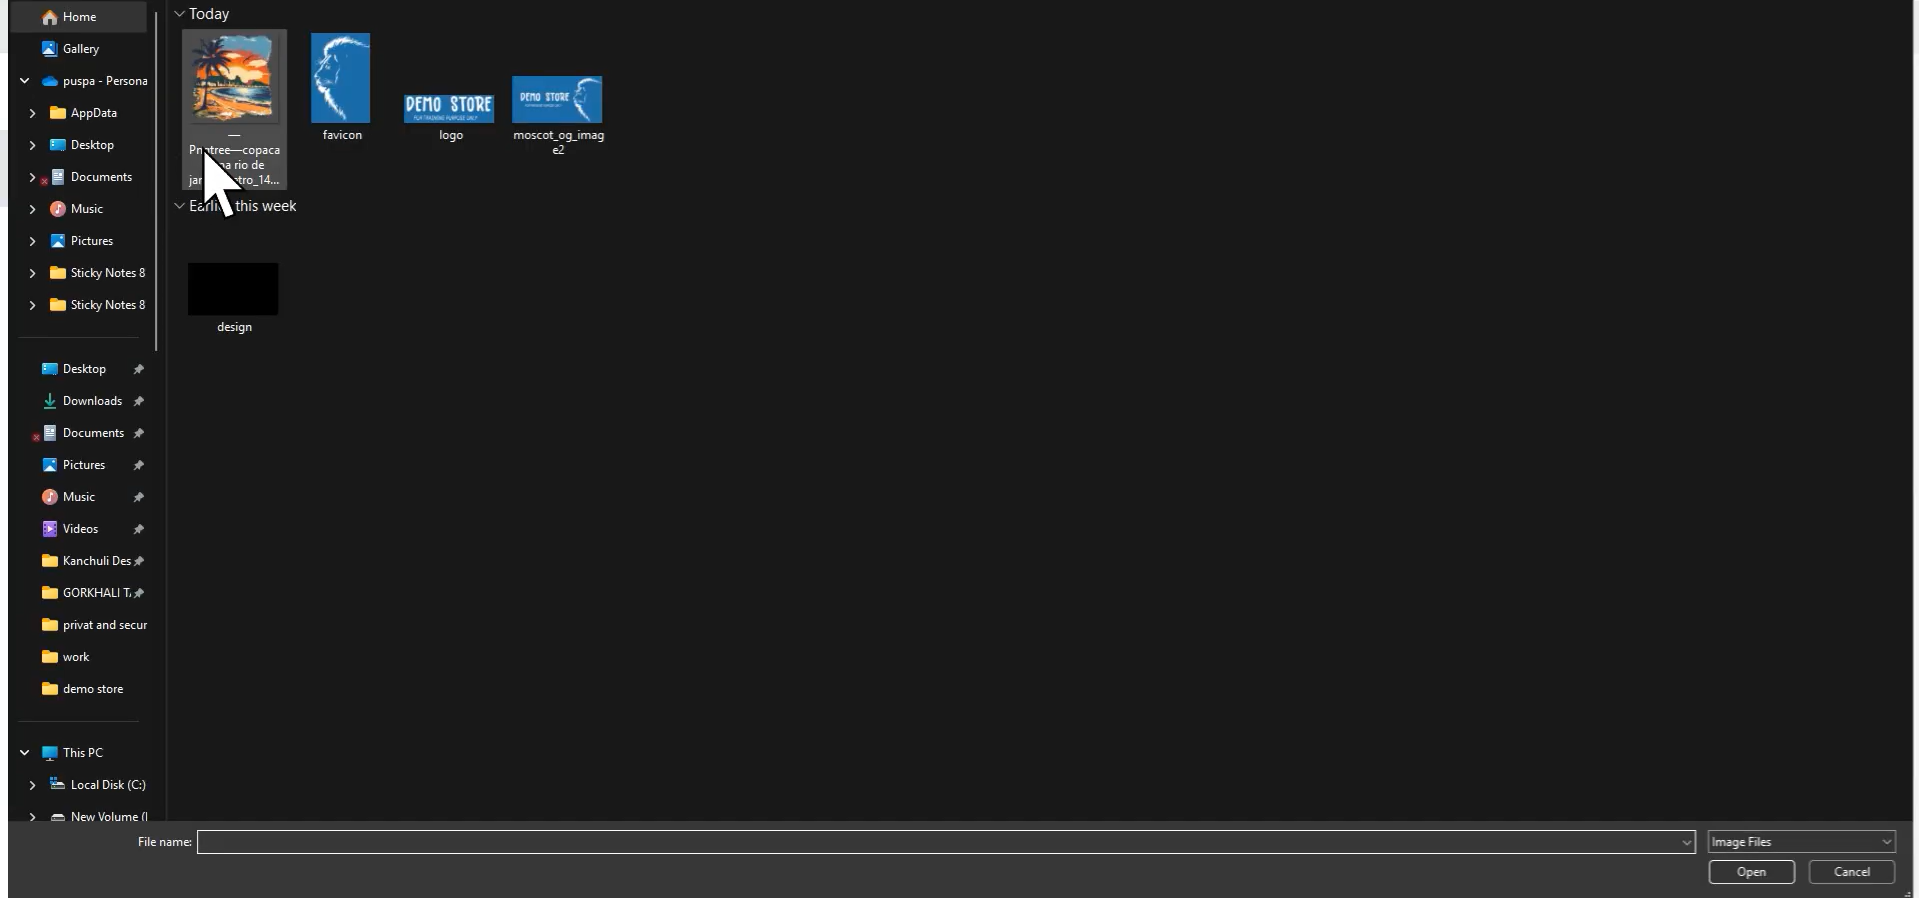
Step 4: Choose Your Design File
A file explorer window will open on your computer.
From here:
Browse to the folder where your artwork is stored
Select the design file
Click Open
Your selected artwork will now start uploading to the platform.
Step 5: Wait for the Upload to Complete
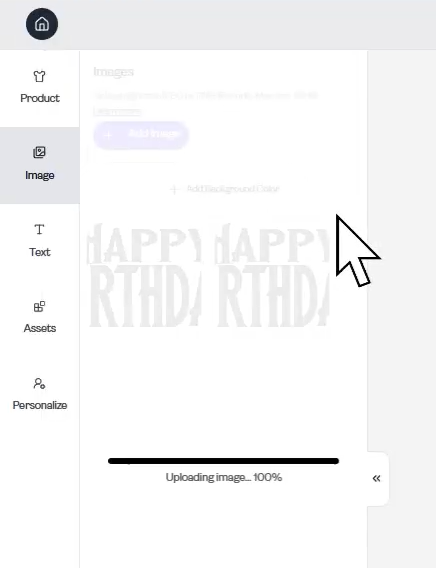
After selecting the file, the system will begin uploading the image.
You will see an upload progress bar in the image panel.
Once the progress reaches 100%, the image will be successfully added to your design library.
Step 6: Add the Design to the Product
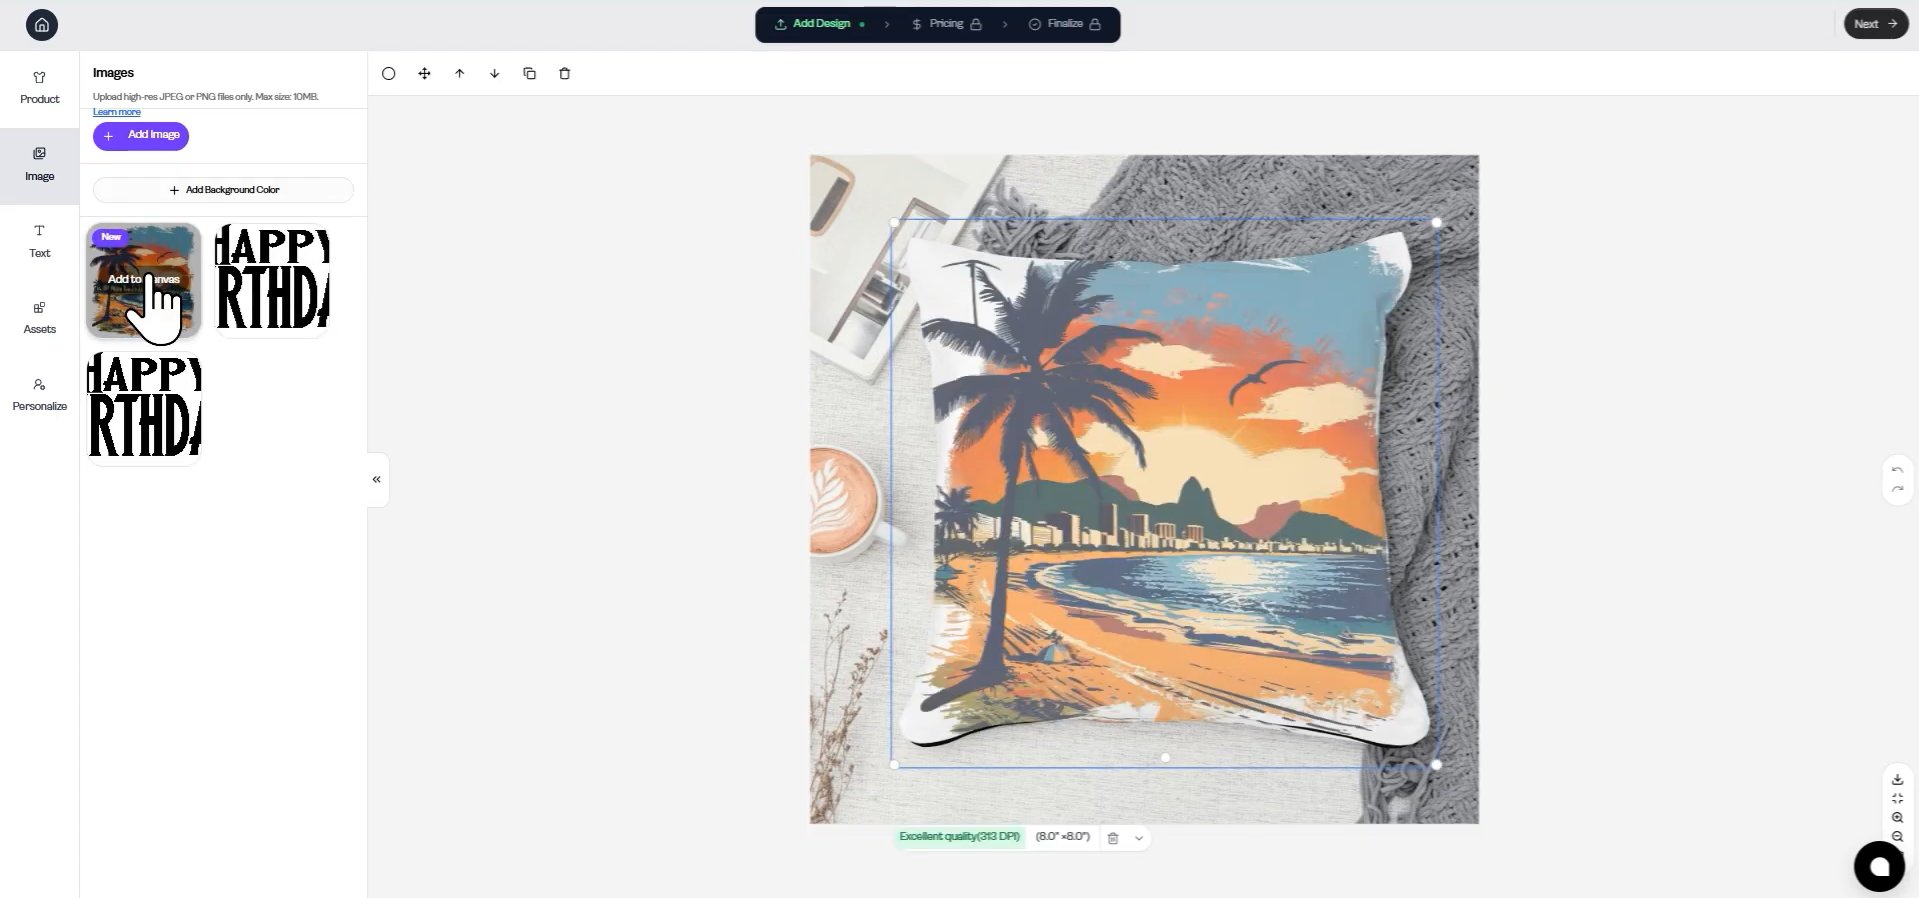
After the upload is complete, the image will appear inside the Image library.
To place it on the product:
Click on the uploaded design
Drag it onto the product mockup if needed
Your artwork will now appear on the product preview.
Step 7: Adjust and Position Your Artwork
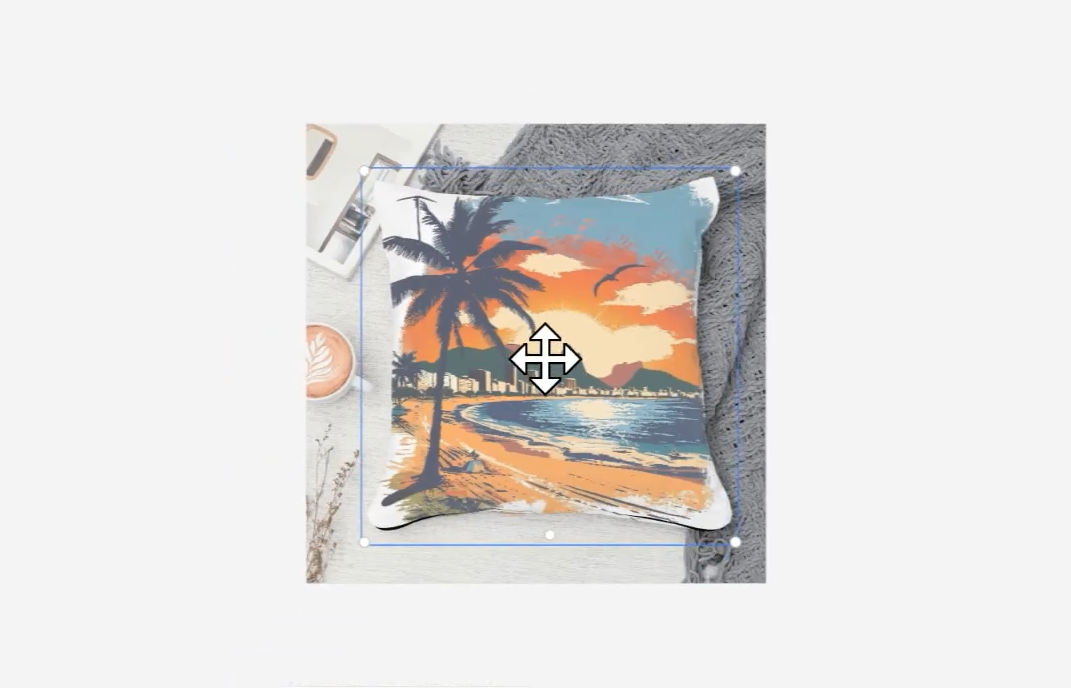
Once the design is placed on the product, you can customize it further.
You can:
Resize the artwork
Move it to the correct position
Adjust alignment
Check how it looks on the product
This step ensures your design fits perfectly before publishing.
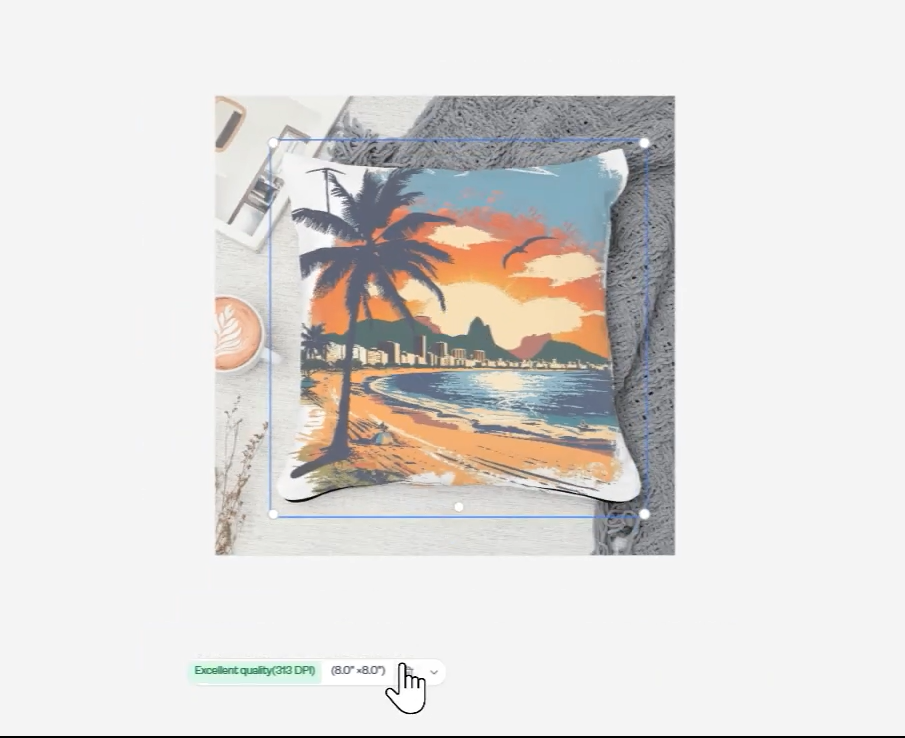
Step 8: Check the Design Quality Indicator
Below the product preview, GogoPogo displays a design quality indicator.
For example:
Excellent quality (high DPI)
Medium quality
Low quality
This indicator helps ensure that your uploaded artwork will print clearly on the final product.
Step 9: Click “Next” to Generate Product Images
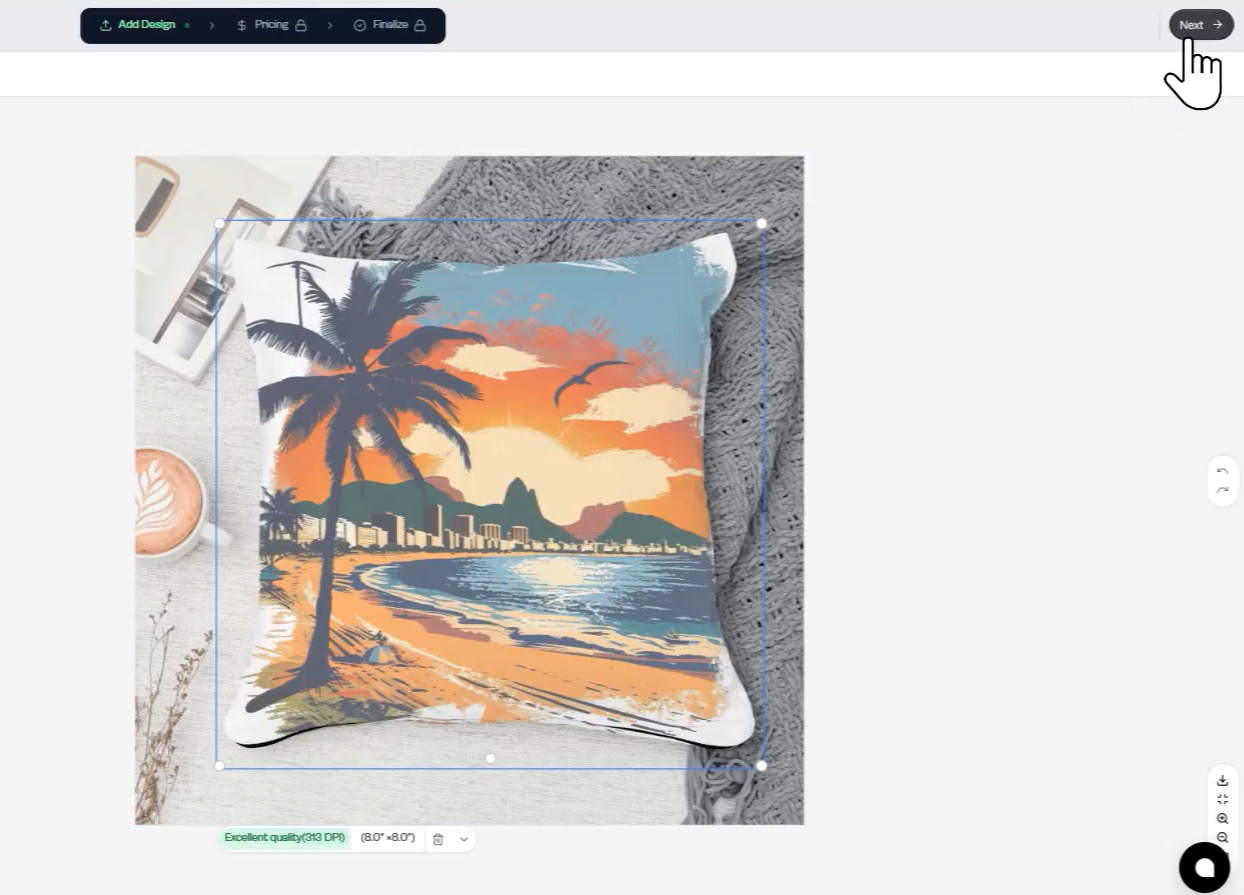
After adjusting and positioning your design on the product, click the Next button located at the top-right corner of the editor.
This will take you to the product image preview section, where GogoPogo automatically generates mockups of your product.
Step 10: Select Your Product Preview Images
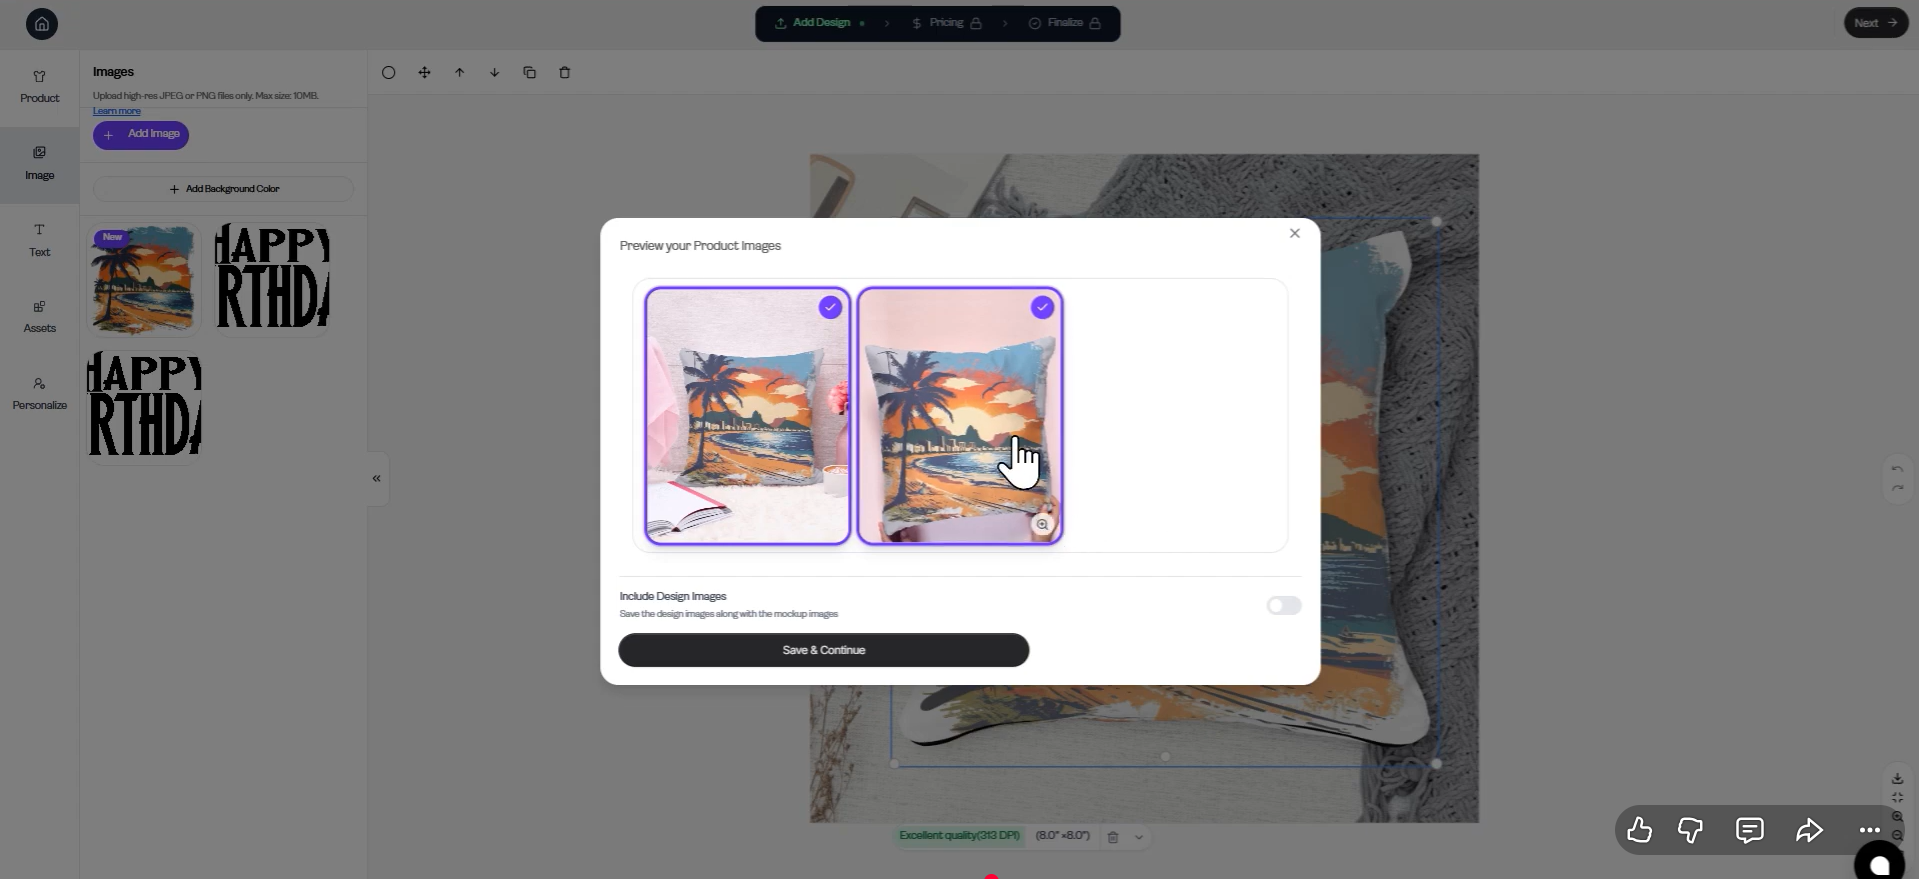
A pop-up window titled “Preview your Product Images” will appear.
Here you will see multiple mockup images of your product, showing how your design looks in different styles or backgrounds.
To choose the images for your product listing:
Click on the preview images you want to use
Selected images will show a purple border with a checkmark
These images will be displayed on your product page for customers.
Step 11: Click “Save & Continue”
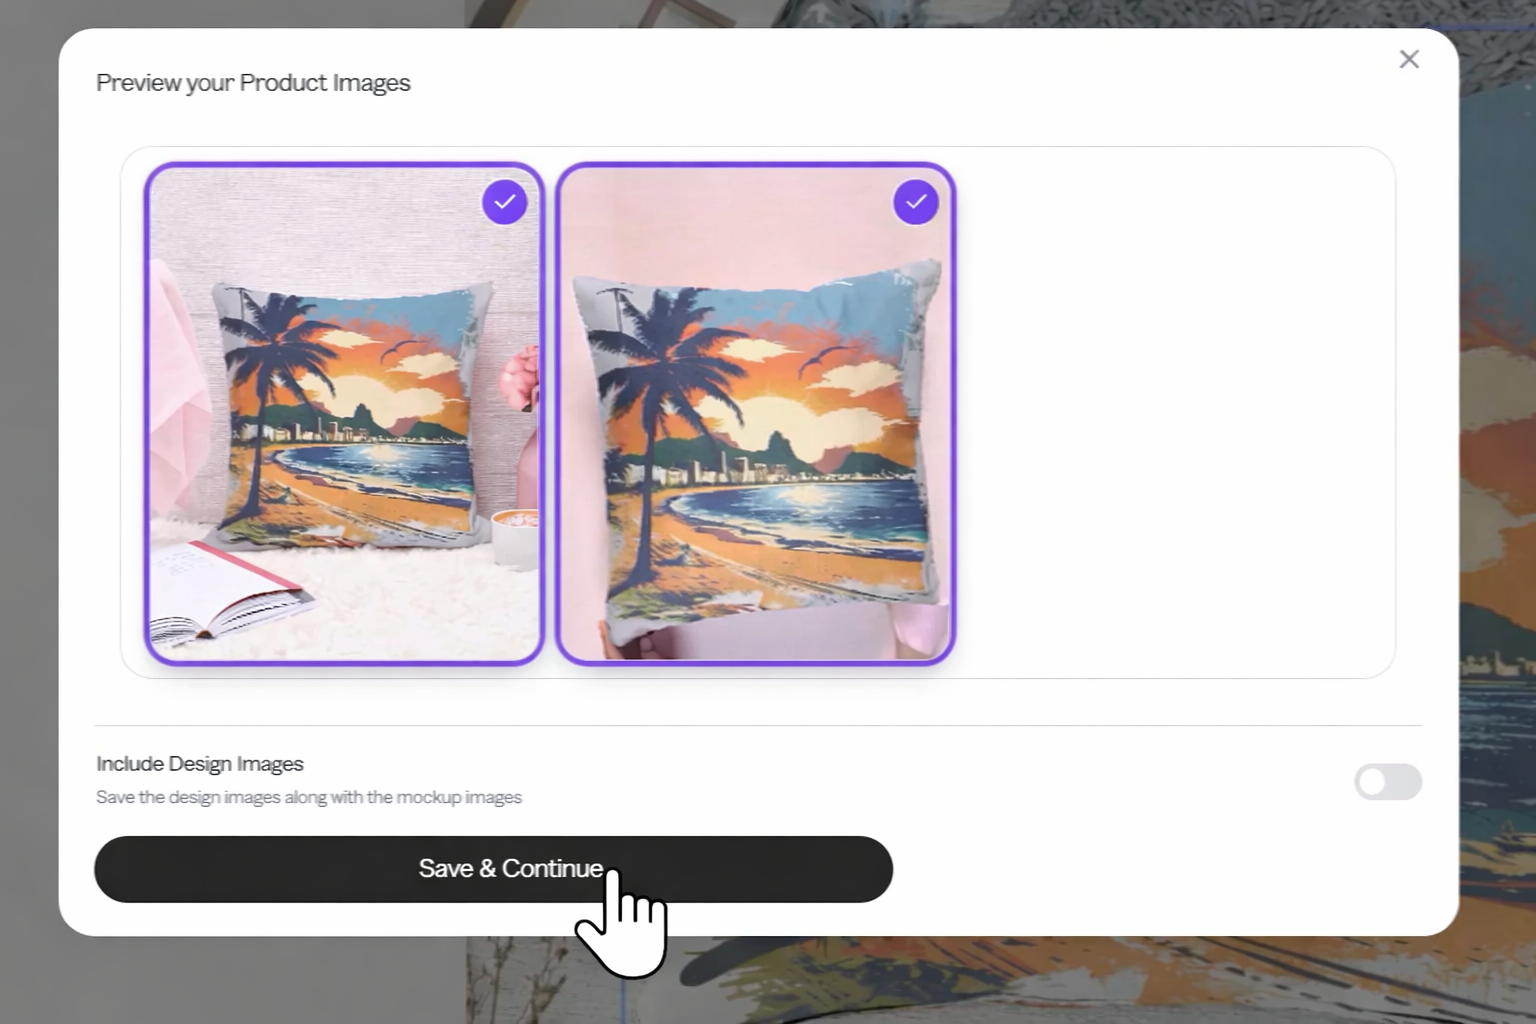
Once you have selected the preview images you want, click the Save & Continue button.
This will save your selected mockups and move you to the next stage of the product setup process, such as pricing and publishing.
Uploading artwork to GogoPogo is a simple process once you understand the design editor. By following the steps above, you can easily add your designs, preview them on products, and prepare them for publishing.
Whether you’re creating custom merchandise, personalized products, or print-on-demand items, mastering this upload process will help you build your product catalog quickly.